How to Make Onigiri at Home + 5 Filling Ideas-Japanese Taste

How to Make Onigiri at Home + 5 Filling Ideas

by Ayumi Matsuo

Main Dish Side Dish On the go Lunch Box Item

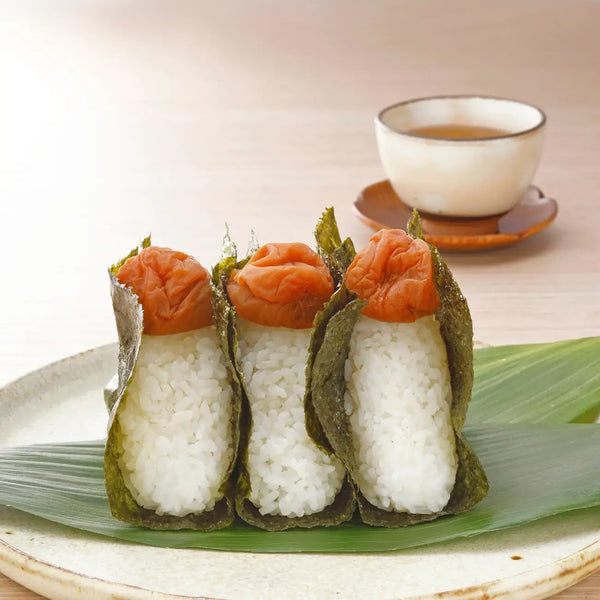
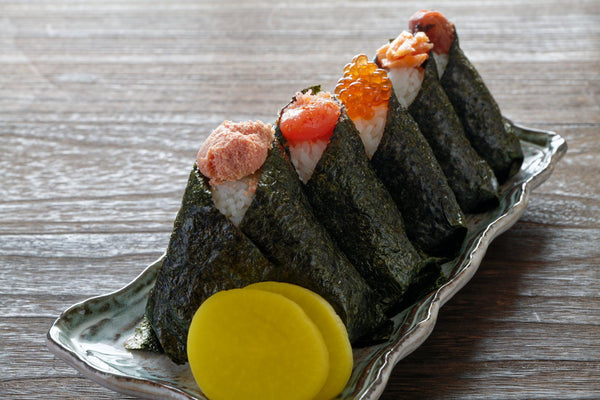
Onigiri is made of freshly cooked rice and is either filled or topped with various different ingredients. Onigiri has such a long history in Japan, where rice is a staple food. In fact, onigiri is said to have been created in the Yayoi period (710-794) and has been loved as a soul food since ancient times.

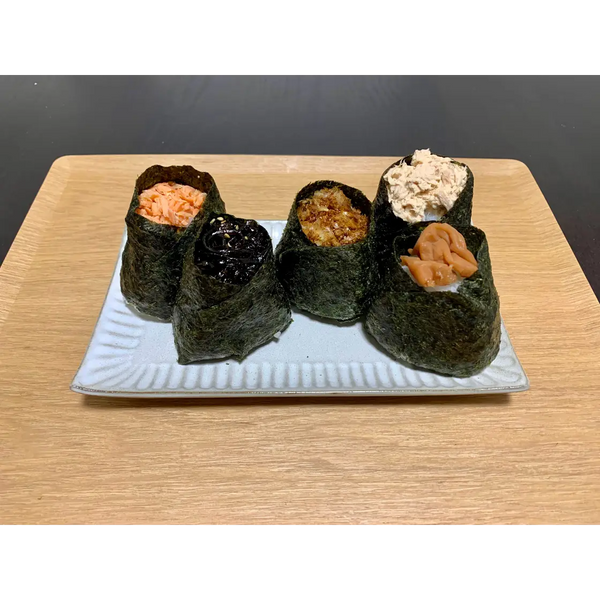
Though onigiri is translated as rice ball, it comes in a variety of shapes including triangular and round shapes. There are many different fillings and toppings used for onigiri, but the most popular types are umeboshi (Japanese pickled plums), Kombu (kelp), Salmon flakes, Okaka (flavored bonito flakes), and Tuna Mayonnaise.

The beauty of onigiri is its portability factor. Onigiri have been tightly hand-rolled to not lose their shape and even taste good when served cold. Also, because they are wrapped in a layer of nori (seaweed), you won't dirty your hands when eating them. Since you can eat both the nutritious filling and rice at the same time, onigiri are quite well-balanced and will fill you up. For this reason, they are often included in lunch boxes, picnics or sports events at school, or served as snacks for children. Since many varieties of onigiri are readily available at convenience stores, working people in Japan often buy them along with other easy to eat side dishes for lunch and have them during their lunch break. There are also an increasing number of rice ball specialty stores that offer their own special varieties throughout Japan.

Japanese rice balls have become so well known and accepted overseas that the word "onigiri" is now commonly recognized all over the world.

Today, we will demonstrate how to make onigiri as well as introduce the five most popular onigiri fillings commonly eaten in Japan. Let’s get to shaping!
Overview

Prep time: 15 mins

Cook time: 15 mins

Total time: 30 mins

Total servings: 5

Difficulty: Easy

Ingredients
  • 425g Freshly Cooked Warm Rice (divided into 5 portions of 85g)
  • 1 Tbsp Salt
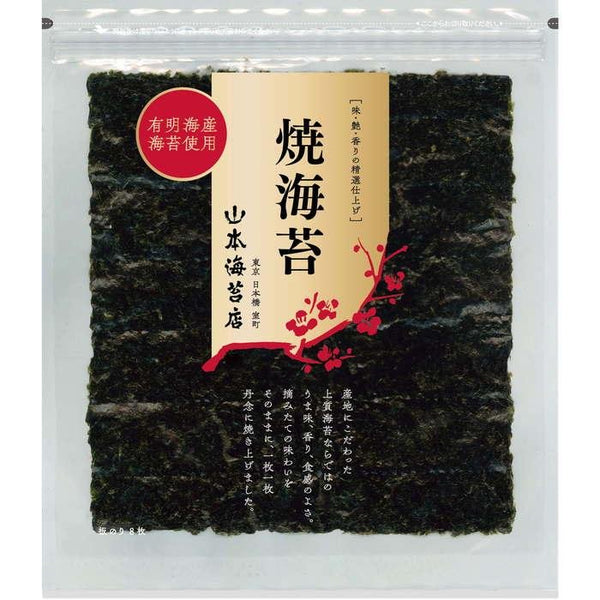
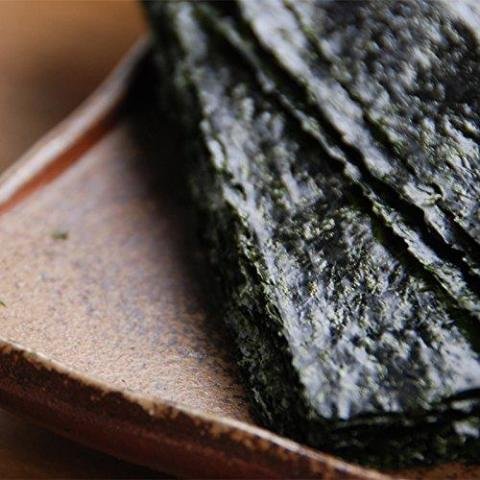
  • 2 Sheets of Nori Seaweed
  • 1 Small Bowl of Ice Water
  • 7-10g Umeboshi (Japanese Pickled Plums)
  • 7-10g Salmon Flakes
  • 7-10g Kombu (Kelp)
  • Okaka (1g Bonito Flakes, 1 pinch of Sugar, 1/4 Tsp Soy Sauce)
  • Tuna Mayonnaise (1/4 can of Tuna, 1 Tsp Mayonnaise, 1/4 Tsp Mentsuyu)

Expert's Tip

How to Make Onigiri at Home + 5 Filling Ideas

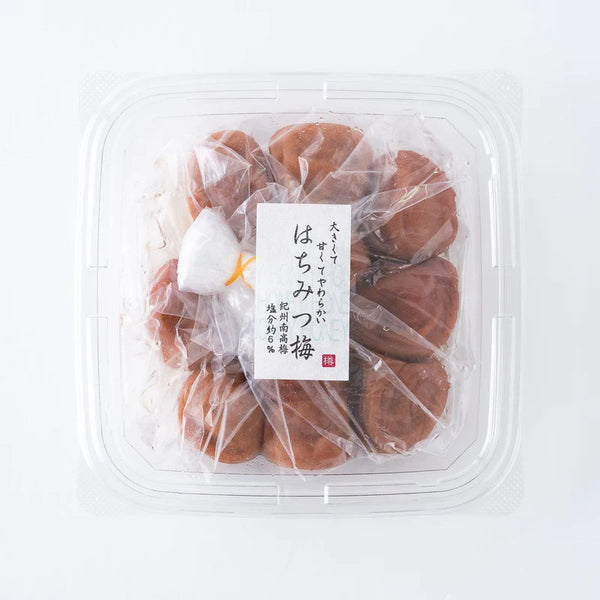
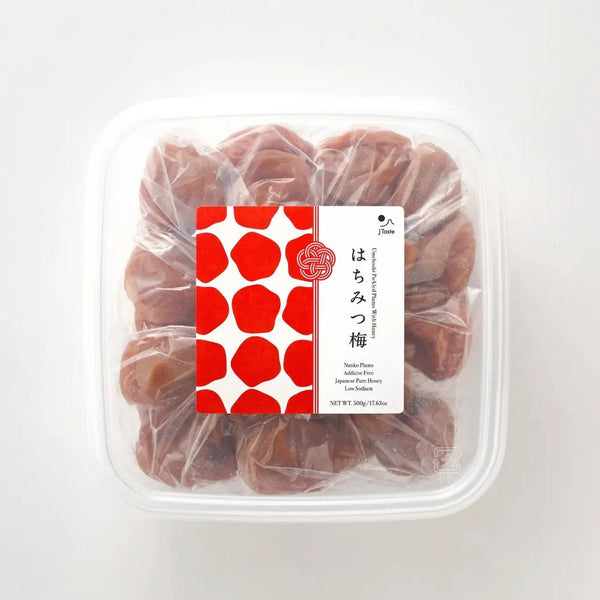
Umeboshi is made by pickling green ume fruit (plum) in salt and drying it in the sun. There are many varieties, including ume pickled with red shiso and dyed red, as well as this umeboshi sweetened with honey.

Umeboshi is often included in bento boxes, ochazuke (rice soup with tea), or mixed into salad dressing. It is said that the citric acid in pickled plums helps to relieve fatigue. Also, because of its antiseptic properties, umeboshi is often used as a filling for rice balls and added to bento boxes to prevent the rice from spoiling.

Instructions

1) Preparing the Onigiri Fillings

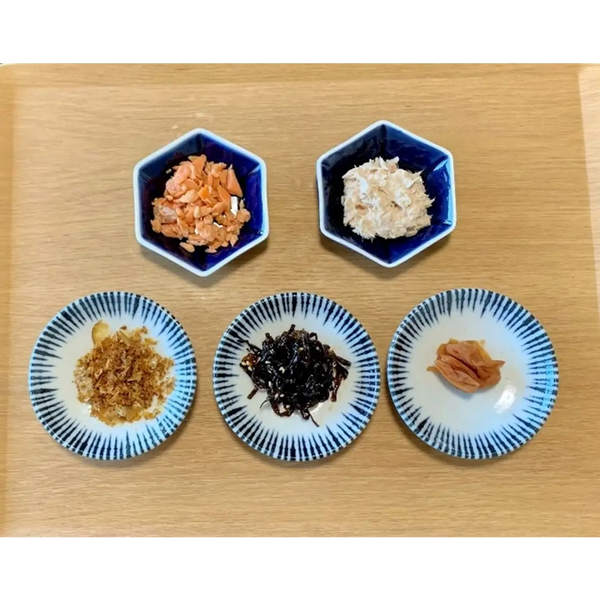
Prepare the fillings that you want to use. Combine bonito flakes with soy sauce and mirin for the Okaka filling. Mix canned tuna with mayonnaise for the Tuna mayonnaise filling. Arrange the fillings clockwise from top left: Salmon flakes, Tuna mayonnaise, Umeboshi, Kombu, and Okaka.

2) Cutting the Seaweed

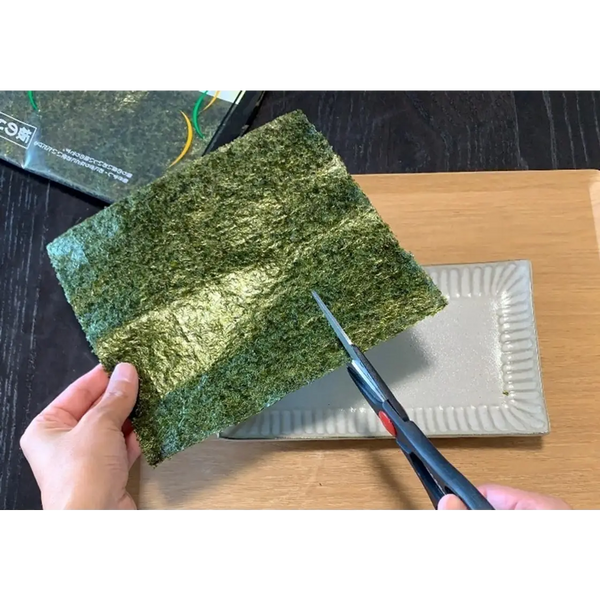
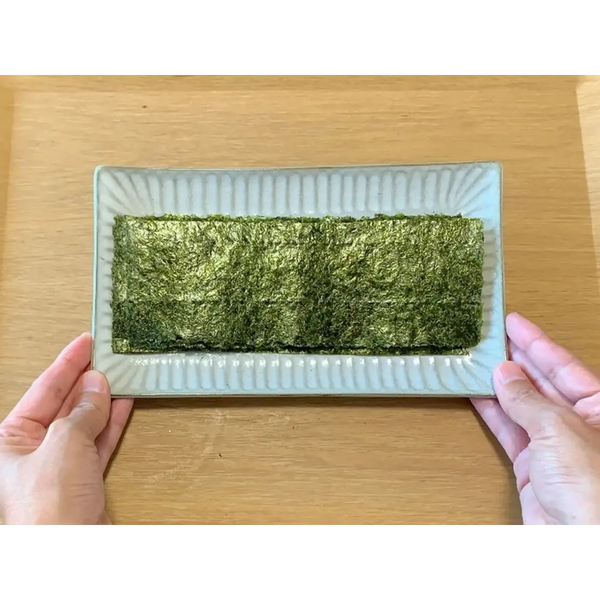
Cut the seaweed sheets into thirds.

3) Preparing Your Hands to Shape the Onigiri

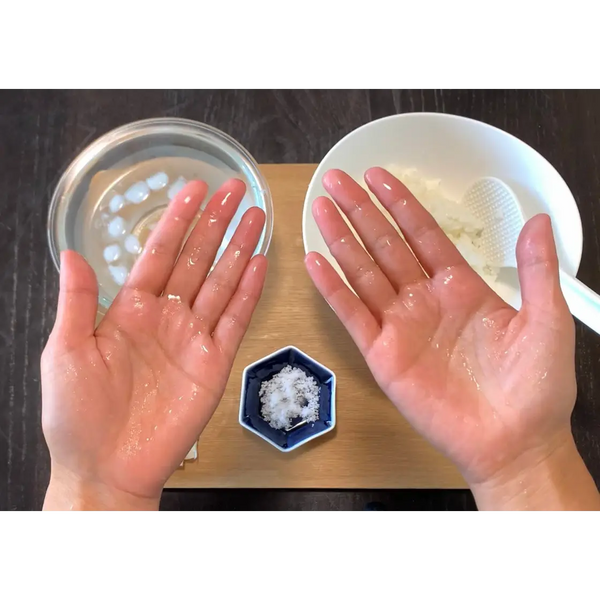
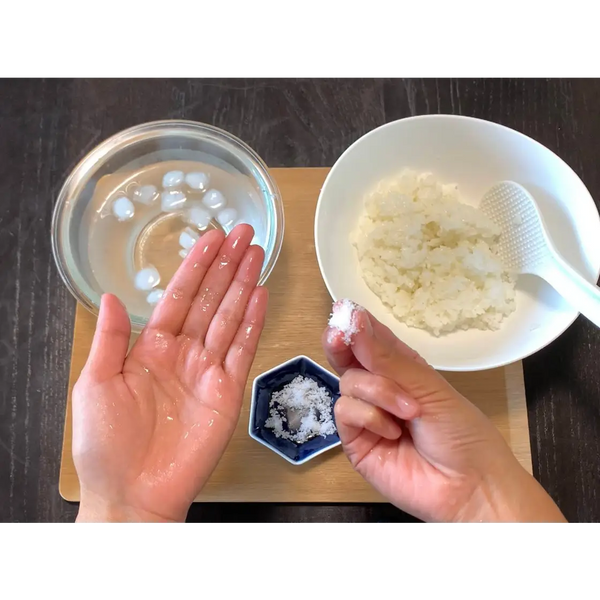
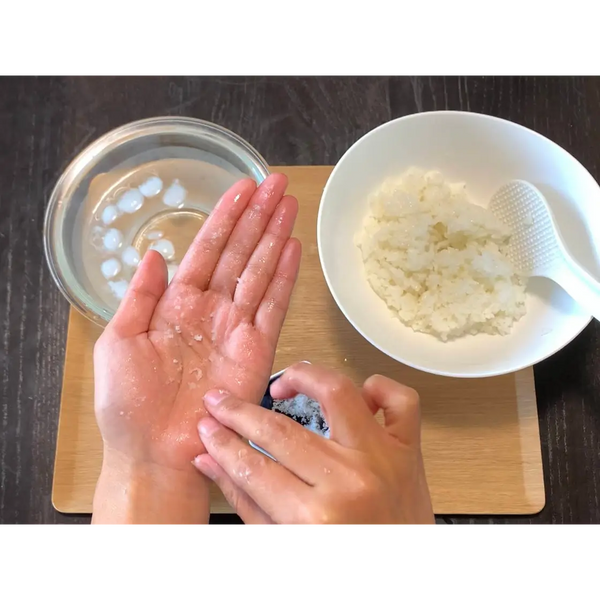
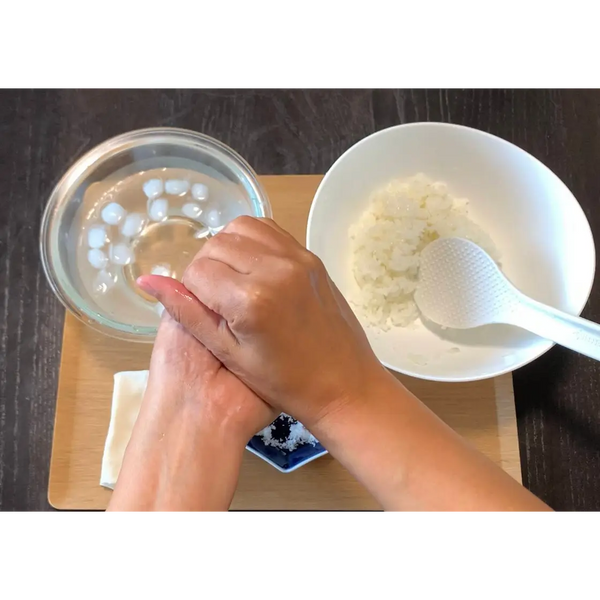
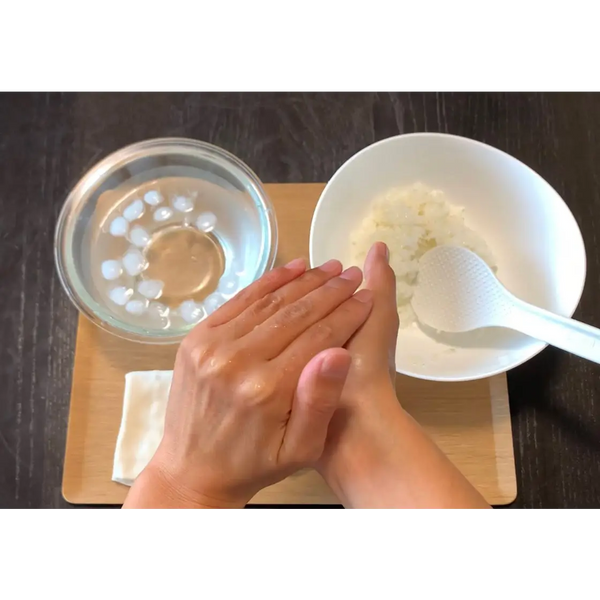
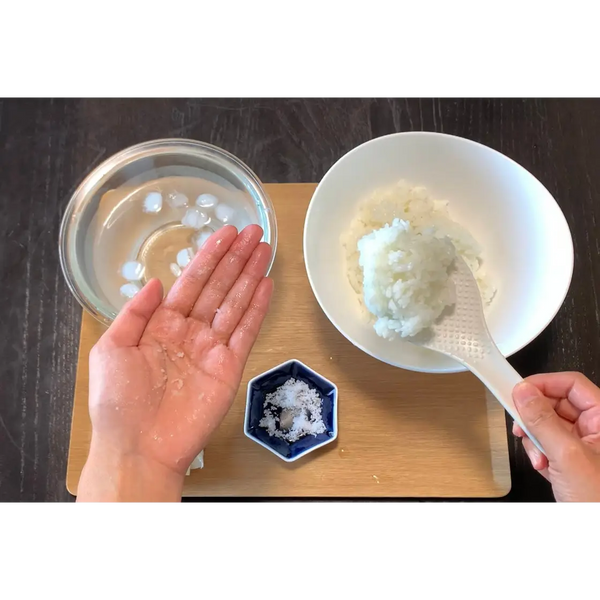
Prepare the warm cooked rice, salt, and ice water, all in separate bowls. Wet your hands with ice water, take a pinch of salt, and spread it over your entire palm.

4) Beginning to Shape the Onigiri

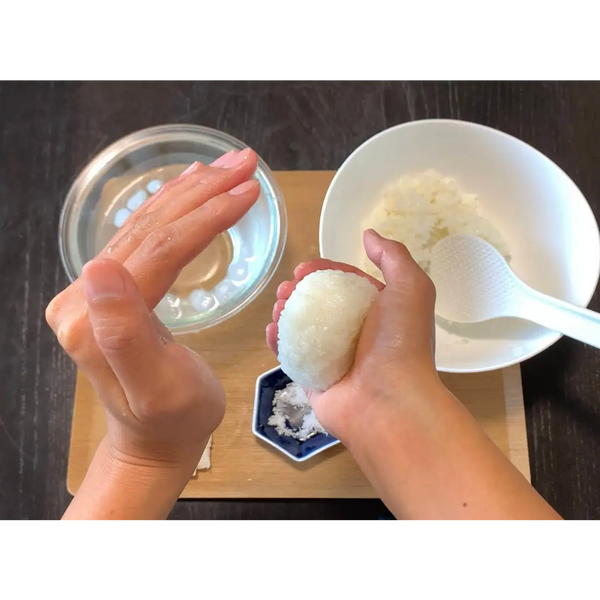
Take one portion of rice (85g) and place it in the palm of your hand. Lightly squeeze it while shaping it into a triangle with both hands. Refer to the pictures for shaping guidance.

5) Perfecting the Shape

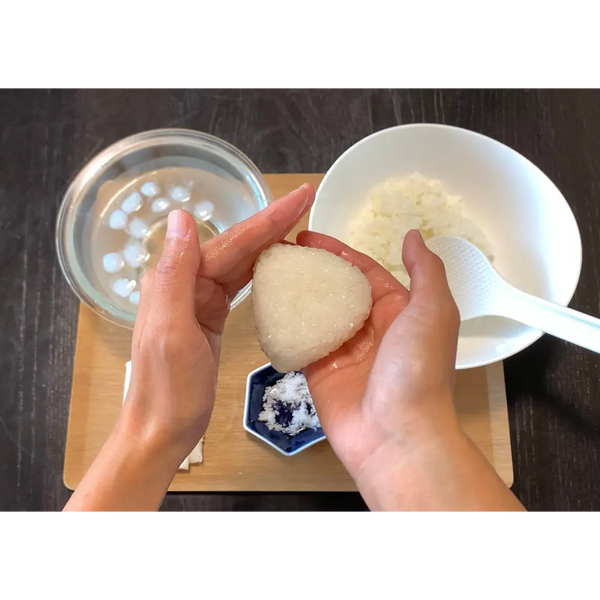
Use one hand to wrap the rice, pressing the sides of the rice ball, while shaping it with the other hand to form the triangular shape. Refer to the pictures for shaping guidance.

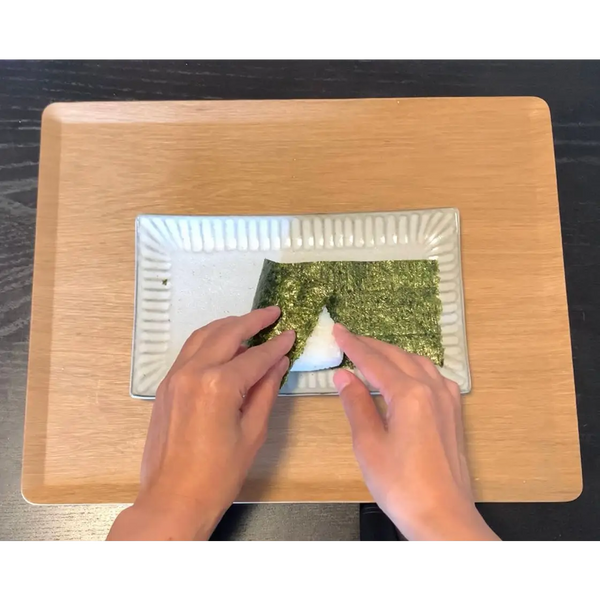
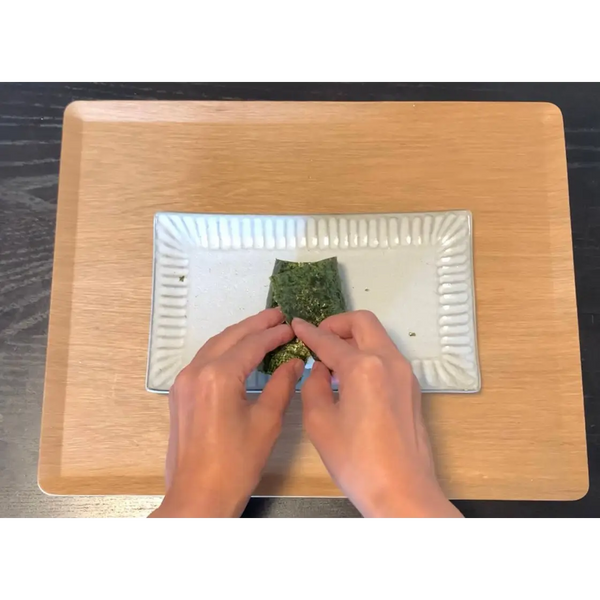
6) Wrapping the Onigiri in Seaweed

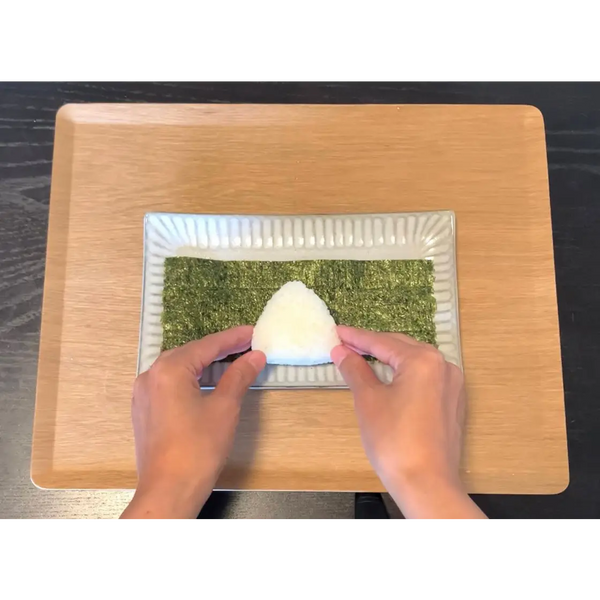
Place the onigiri on top of the seaweed and fold the left and right sides over in order.

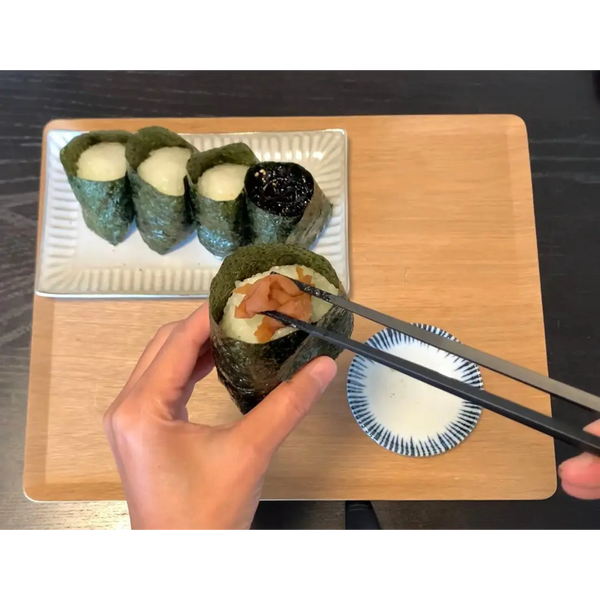
7) Adding Your Desired Toppings

Add your desired toppings to your onigiri.

8) Enjoying Your Homemade Onigiri

Your homemade onigiri are now finished. Feel free to enjoy them for lunch or as a snack!

Recommended products for this recipe

0 comments


Leave a comment

Please note, comments must be approved before they are published