How To Make Mochi Donuts At Home (Mister Donut Pon de Ring Copycat Recipe)

How To Make Mochi Donuts At Home (Mister Donut Pon de Ring Copycat Recipe)

by Ayako Kidokoro

Dessert Sweets Donut Mochi

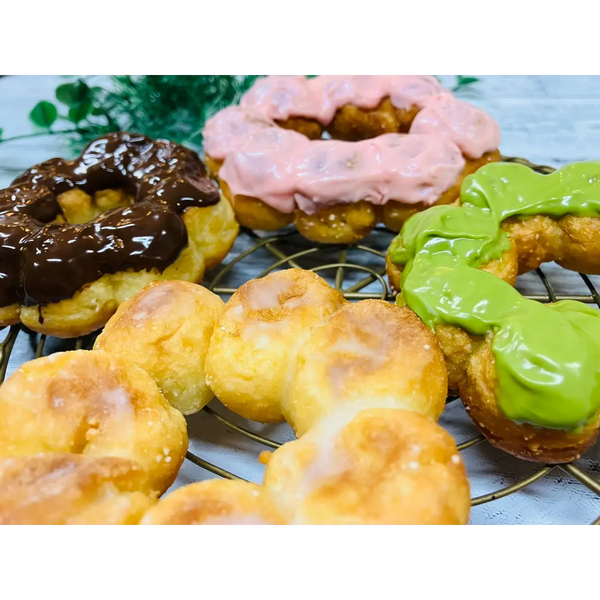
The Pon de Ring donut is a popular Japanese donut sold at Mr. Donut, one of Japan's most famous donut chains. Fans often search for Pon de Ring or Mister Donut mochi donut and it’s easy to see why.

Unlike most Japanese donuts, which are light and airy, the Pon de Ring has a chewy, mochi-like texture and a playful flower-shaped design. Its unique combination of a slightly crunchy exterior and a soft, chewy interior makes it instantly recognizable and beloved at Mr. Donut stores across Japan.

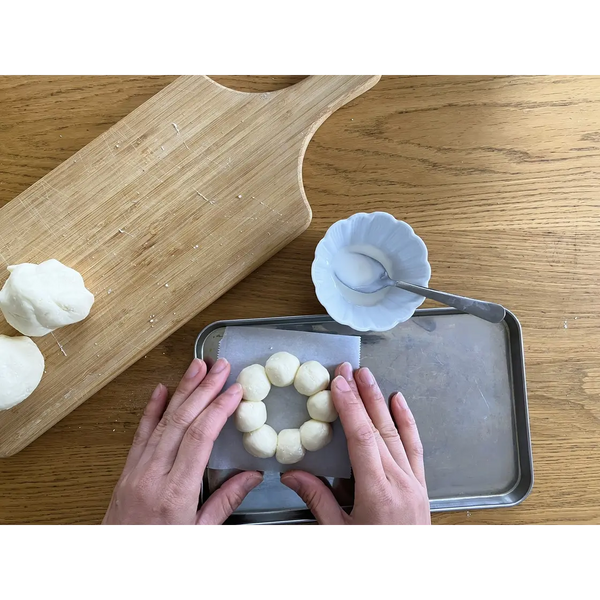
These mochi-like donuts, also called Pon-de-rings, are made from 8 small dough balls connected together in a ring. Biting into one reveals a delightful contrast: a lightly crisp outside with a chewy, satisfying inside.

You can find Mr. Donut Pon de Ring almost anywhere in Japan. As of March 2023, Mister Donut operates around 1,000 stores nationwide. Since it first launched in 2003, the Pon de Ring Mister Donut, has been a hit with donut lovers across the country.

So why was the Pon de Ring donut created? It was inspired by a Brazilian cheese bread called “Pao de Queijo,” which is made with tapioca flour and cheese. Both the Pon de Ring and Pao de Queijo share a similar chewy texture, and the tapioca flour allows the dough to cook without expanding, giving the donut its signature consistency.

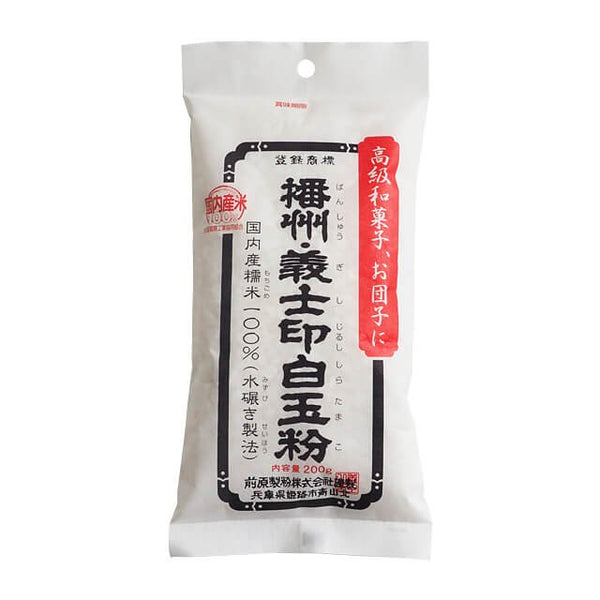
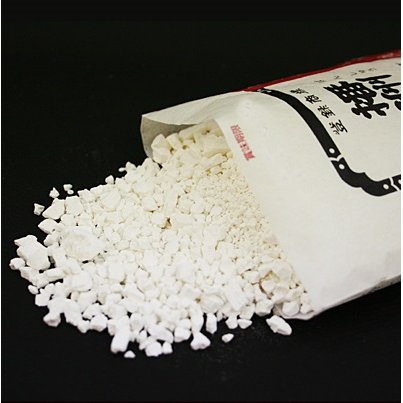
Although Pon de Ring donuts are popular in Japan, they can be hard to find overseas. That’s why we created a copycat Pon de Ring donut recipe you can make at home. While Mr. Donut uses tapioca flour for their Mister Donut mochi donut, our recipe uses glutinous rice flour and yogurt. These ingredients are easier to find but still deliver the same chewy-and-crispy texture as the original Pon de Ring Mister Donut.

For the best experience, enjoy your homemade Pon de Ring donuts the same day you make them. If you need to store them, keep them at room temperature in a covered container. For a freshly baked taste, microwave them for 10–20 seconds before eating.

Whether you’re curious about what makes a Japanese donut different, searching for a Pon de Ring Japanese donut, or following a Pon de Ring recipe, this iconic treat is a must-try. Our copycat Pon de Ring mochi donut recipe makes it easy to enjoy the unique flavor and texture of Mr. Donut Pon de Ring right in your own kitchen.

Overview

Prep time: 15 mins

Cook time: 15 mins

Total time: 30 mins

Total servings: 4

Difficulty: Easy

Ingredients
  • 120g Glutinous Rice Flour (Shiratama Ko)
  • 50g All-Purpose Flour
  • 30g Granulated Sugar
  • 3g Baking Powder
  • 15g Honey
  • 1/2 Egg, beaten (about 25g)
  • 80g Plain Yogurt, unsweetened
  • 1/4 tsp Salt
  • 50g Chocolate (For the Chocolate Glaze, optional)
  • 50g White Chocolate + 1/2 Tsp Strawberry Jam (For the Strawberry Glaze, optional)
  • 50g White Chocolate + 1/2 Tsp Matcha Powder (For the Matcha Glaze, optional)
  • 30g Powder Sugar + 1/2 Tsp Lemon Juice (For the Sugar Glaze, optional)
  • Oil, for frying

Expert's Tip

How To Make Mochi Donuts At Home (Mister Donut Pon de Ring Copycat Recipe)

We’re sure many people are not keen on deep frying at home. It is hard to keep the temperature of the oil stable and it can become quite messy. Here’s a lifesaver. This Fryer comes with a thermometer, and it is designed with a slight curve toward the inside to keep your kitchen clean. 

Instructions

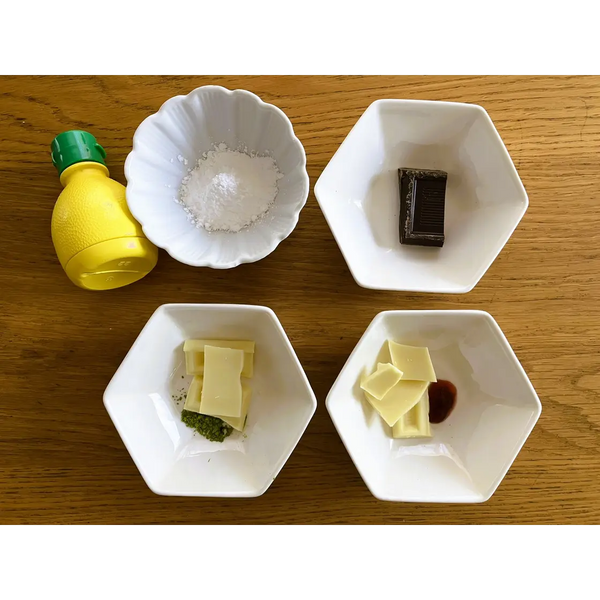
1) Gathering the Ingredients

Gather the ingredients together.

Note: The first picture shows the ingredients for the donut dough, and the second picture shows the ingredients for the glazes.

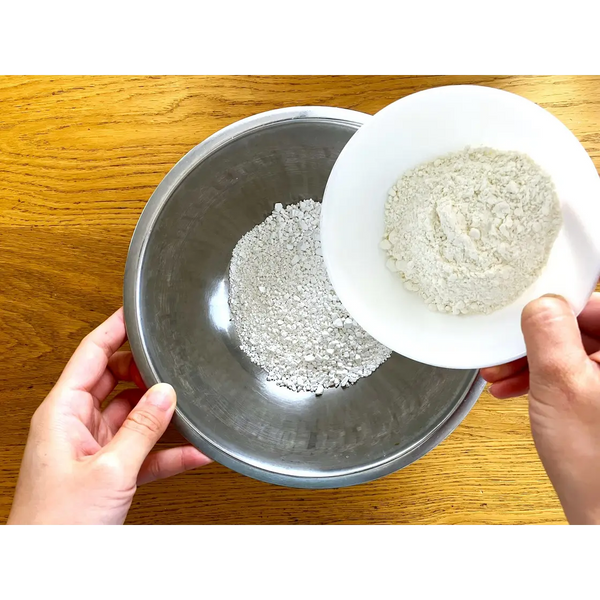
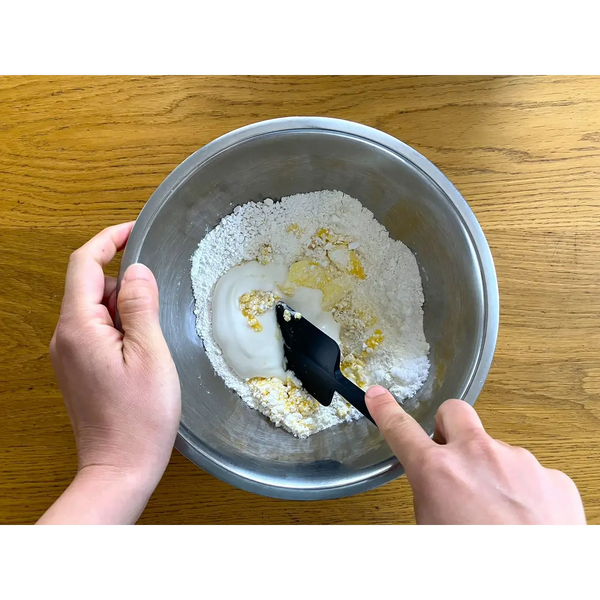
2) Making the Pon de Ring Donut Dough

Add all of the ingredients (excluding the ingredients for the glazes) into a large bowl, and mix well with a spatula until evenly incorporated.

Once the dough is well mixed, knead it until it comes together as a soft dough. If the dough still feels a little hard, add a little more yogurt. Be careful not to add too much yogurt at one time, though; start with a small amount, around 1/2 tsp at a time.

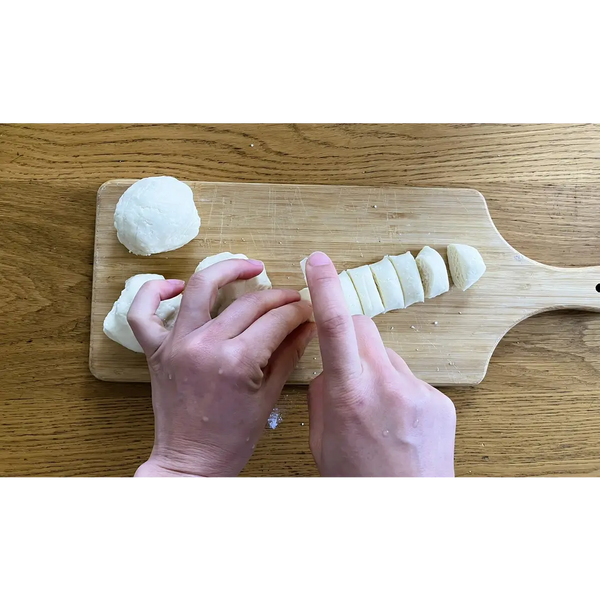
3) Dividing up the Donut Dough

First, divide the dough into 4 parts, then divide each part into 8 pieces.

Form each piece into bite-sized balls and connect 8 of them together, using yogurt as glue.

Note: You should end up with 32 balls, with each donut needing 8 balls. You will be able to make 4 donuts total with this recipe.

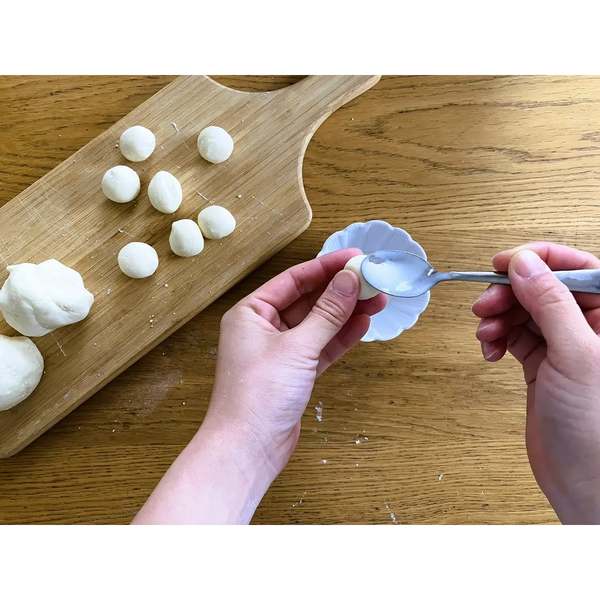
4) Shaping the Pon de Ring

Make round, flower-shaped donuts with the donut dough using 8 pieces for each donut. Then, gently place each donut onto a piece of parchment paper.

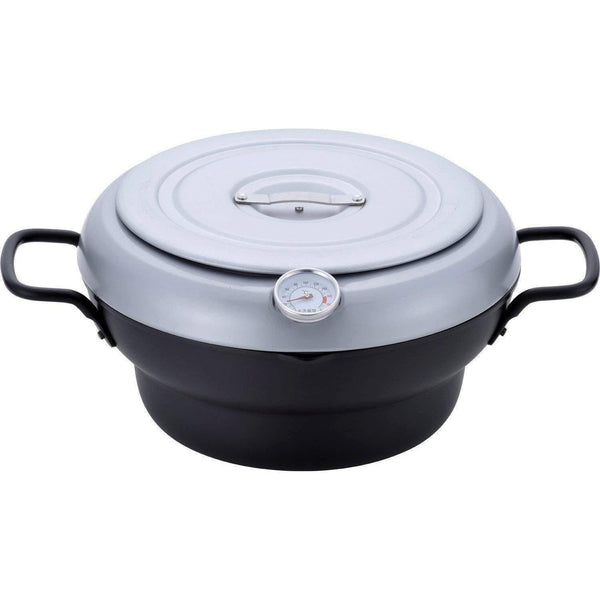
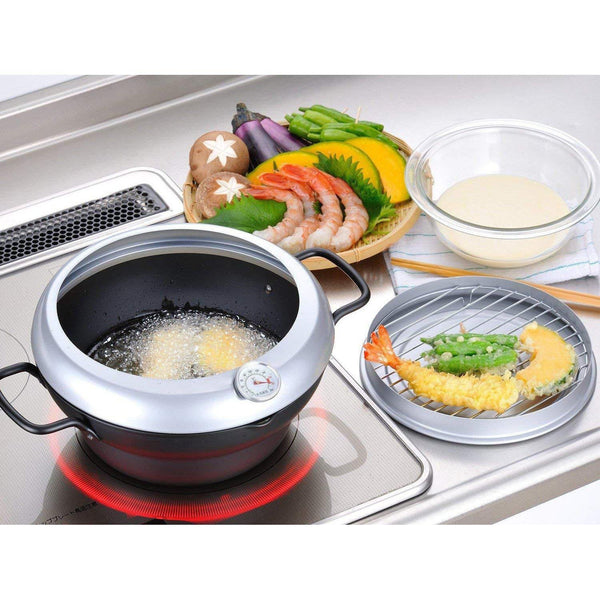
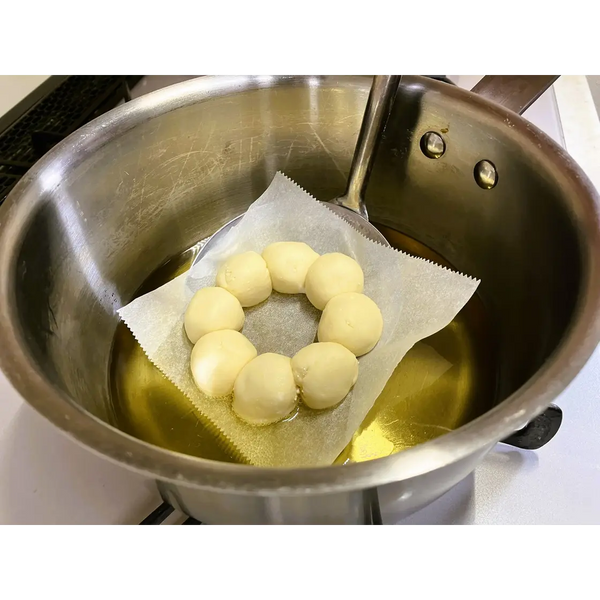
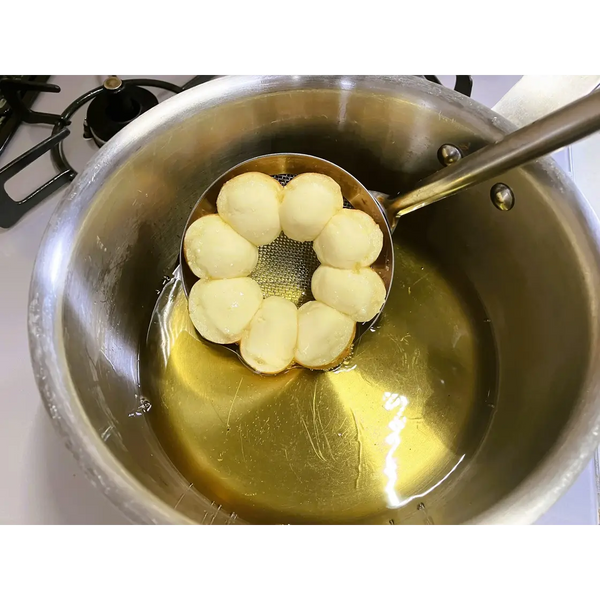
5) Frying the Pon de Ring

Pour about 1.5cm (0.5inch) of oil into a frying pot and heat it to 160-170°C (320-338°F).

Using a mesh skimmer, carefully place the donut WITH the parchment paper into the pot.

Fry until the bottom side turns golden brown, which takes about 2 minutes, then gently remove the parchment paper.

Notes: Frying the donut with a piece of parchment paper helps it keep its shape when added to the hot oil.

You can also use a bigger pot to fry multiple donuts at once.

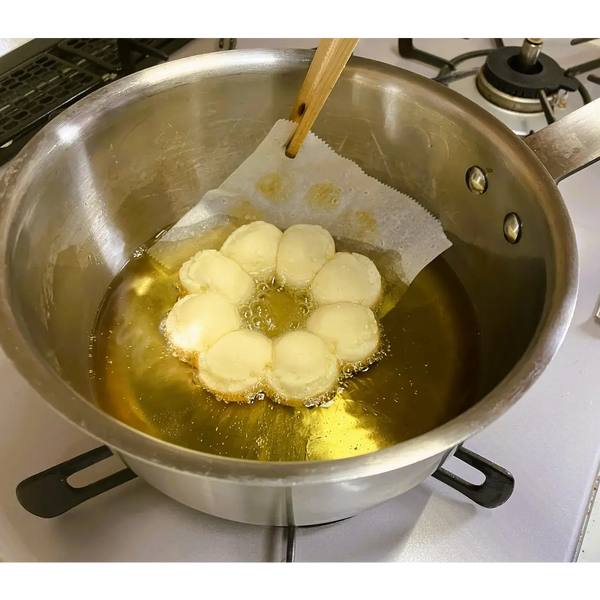
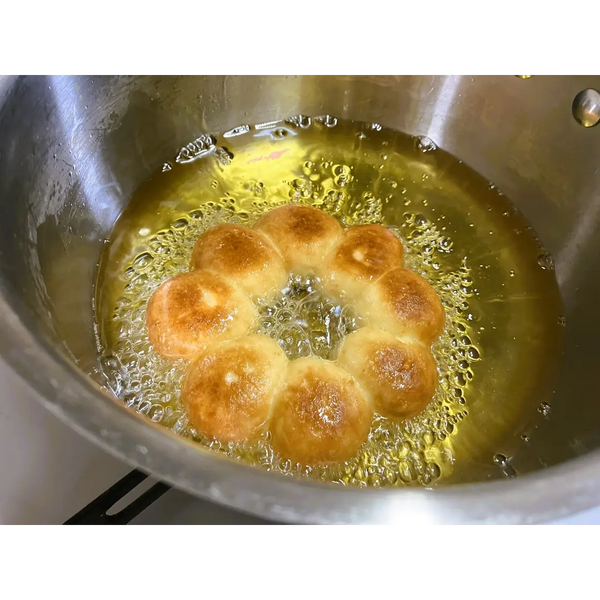
6) Frying the Pon de Ring on the Other Side

Flip the donuts quickly using a mesh skimmer or chopsticks very carefully. Fry again until the donut becomes golden brown on both sides.

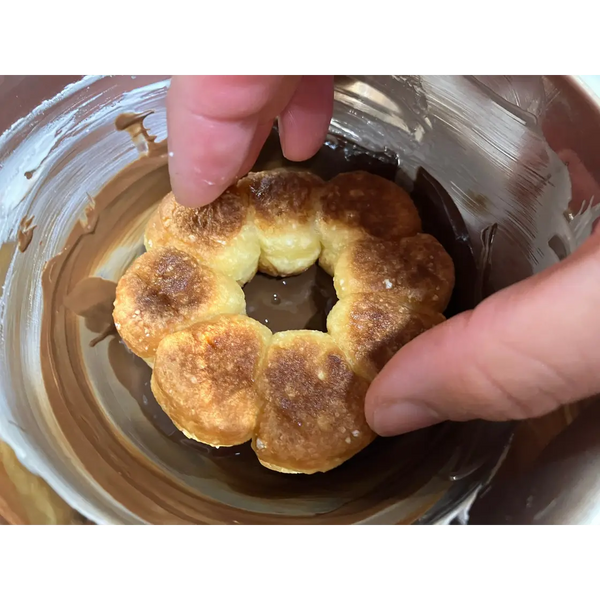
7) Allowing the Donuts to Cool and Making the Glaze

Rest the donuts on a wire rack and allow them to cool completely before glazing. During this time, you can work on making the glaze. Here are some of our recommendations:

Chocolate Glaze: Melt chocolate in the microwave or over a water bath.

Sugar Glaze: Combine powdered sugar and lemon juice and mix well until a glaze forms.

Strawberry Glaze: Melt white chocolate carefully in the microwave or using a water bath, and then add strawberry jam to taste.

Matcha Glaze: Follow the same steps as the strawberry glaze, but add a small amount of matcha powder to the melted white chocolate instead of jam.

8) Enjoying the Pon de Ring Donuts

Once the donuts are glazed and/or decorated, enjoy! We recommend consuming them within a day or two. 

Recommended products for this recipe

0 comments


Leave a comment

Please note, comments must be approved before they are published