How to Make Shokupan Japanese Milk Bread at Home-Japanese Taste

How to Make Shokupan Japanese Milk Bread at Home

by Ayumi Matsuo

Bread

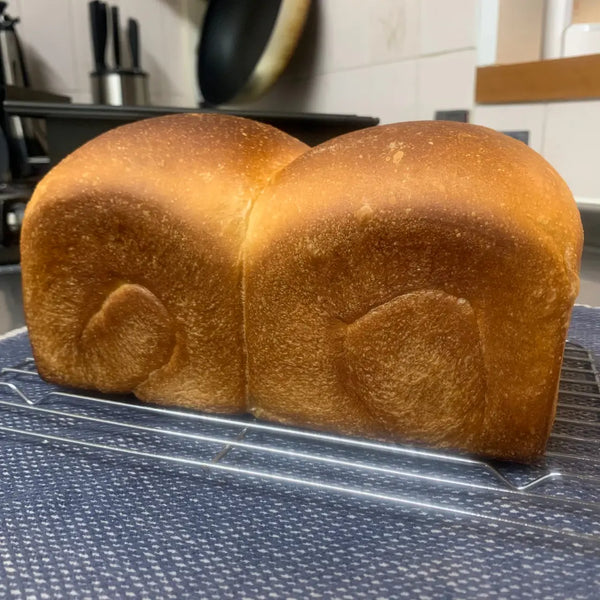
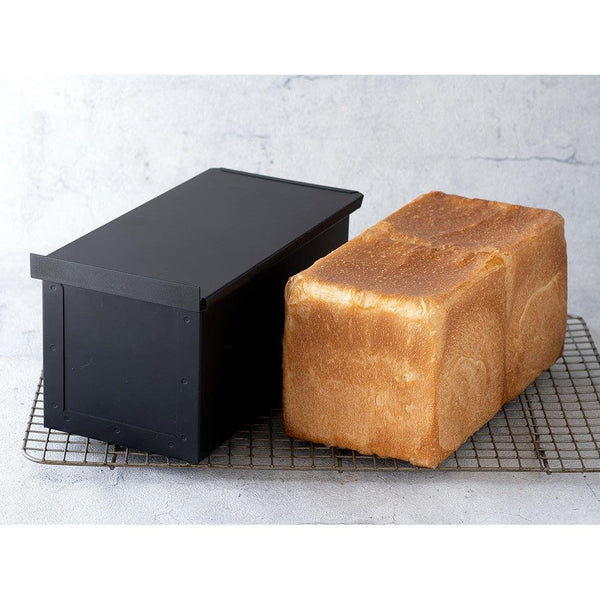
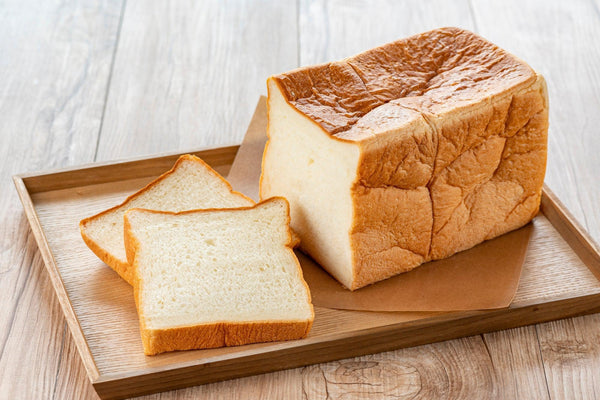
Shokupan is a Japanese milk bread baked in a rectangular-shaped mold. The inside of shokupan is soft and fluffy, while the crust is crunchy and firm. It is the bread most familiar to Japanese people and is the go-to choice of bread for sandwiches and toast.

The concept of bread has been known in Japan since the 16th century, but it is thought that shokupan was first introduced to Japan in the1860s. Once the popularity of shokupan picked up around the country, it was often included in the form of sandwiches for Japanese school lunches after World War II.

Nowadays, Japanese regularly consume shokupan at home, by eating thick slices of it with butter or jam. Shokupan can be eaten in a variety of ways both sweet and savory depending on how thick it is cut. It also makes for a quick, filling, and delicious option for breakfast.

In Japanese supermarkets, there are many different varieties of shokupan to choose from. In fact, shokupan is so commonly consumed that there are even specialty stores that make their own signature shokupan. These types of shops create tasty bread using unique ingredients and fermentation techniques to give the bread a distinguished taste.

Shokupan is a very moisture-sensitive food, and if stored at room temperature, it will become moldy quickly. In only 2 to 3 days to be precise. If you cannot eat it right away, you can freeze it. Shokupan can be stored in the freezer for two weeks to up to one month.

Whenever you want to eat it, simply heat it in a toaster or oven until your preferred doneness. It will taste just like it was freshly baked again!

Today we’re going to share a recipe for a plain loaf of shokupan so that you can make it at home. We hope that you'll enjoy our recipe, and let us know if you try it out!

Overview

Prep time: 30 mins

Cook time: 3hrs 0mins

Total time: 3hrs 30mins

Total servings: 9

Difficulty: Medium

Ingredients
  • 380g Bread Flour
  • 23g Cane Sugar
  • 15g Skim Milk Powder
  • 7g Salt
  • 255ml Water
  • 4g Dry Yeast
  • 23g Butter

Expert's Tip

How to Make Shokupan Japanese Milk Bread at Home

This loaf pan is necessary for making Japanese square or mound-shaped shokupan. The body of this shokupan loaf pan is coated with Teflon, and the copper wire attached to the rim is designed to bake bread evenly and efficiently.

When the bread dough is ready, simply place it in this loaf pan and put it directly into the oven to make authentic Japanese bread at home. 

This model can bake 1.5 loaves of bread. There is also a 1lb loaf size mold as well.

Instructions

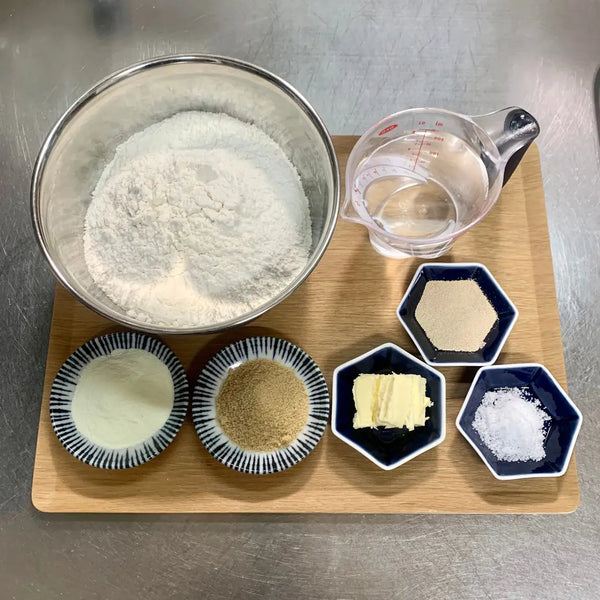
1) Gathering the Ingredients

Gather and measure out all of the ingredients. Bring the butter to room temperature.

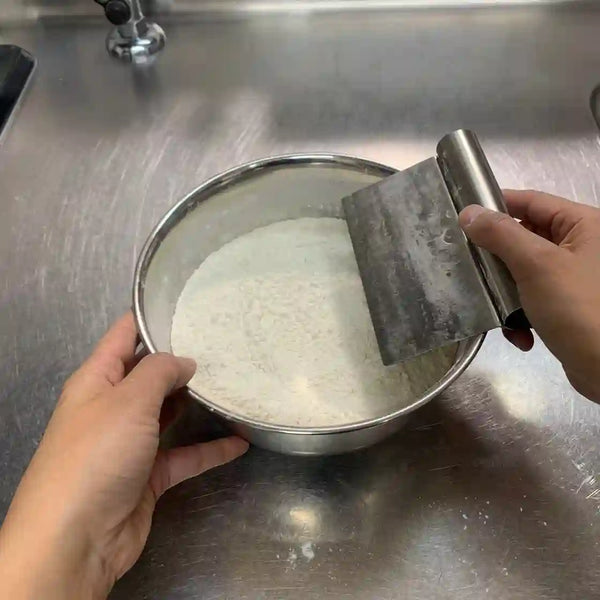
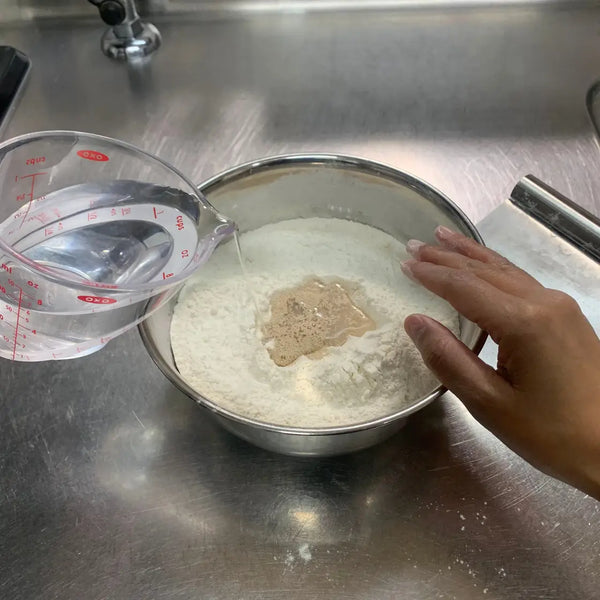
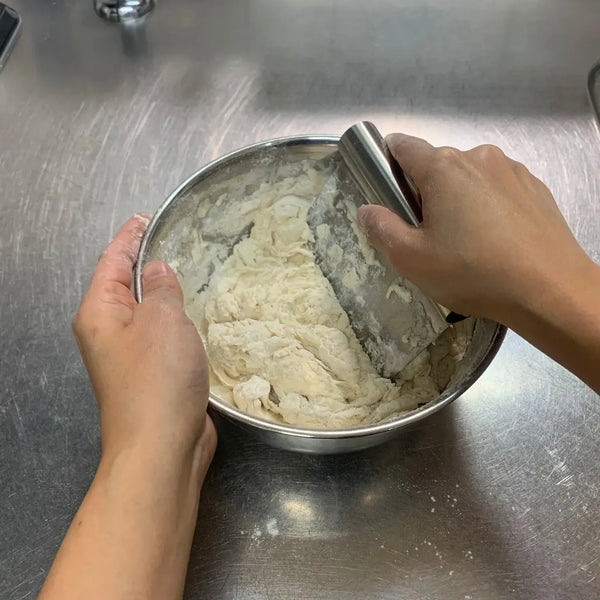
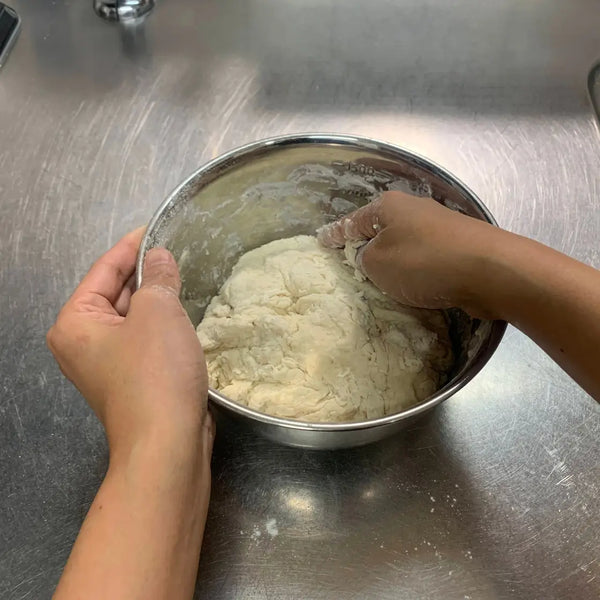
2) Making the Bread Dough

In a bowl, combine all of the dry ingredients - bread flour, cane sugar, salt, and skim milk powder - and mix well with a bench scraper. Make a hollow well in the center of the dry mixture, and pour in the water and dry yeast mixture. Incorporate the wet mixture into the dry ingredients using a cutting motion. When the mixture is no longer powdery, use your hands to knead the dough into a ball.

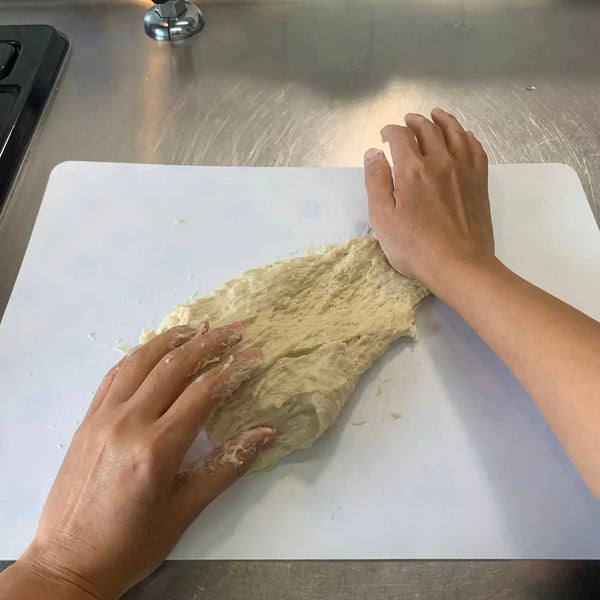
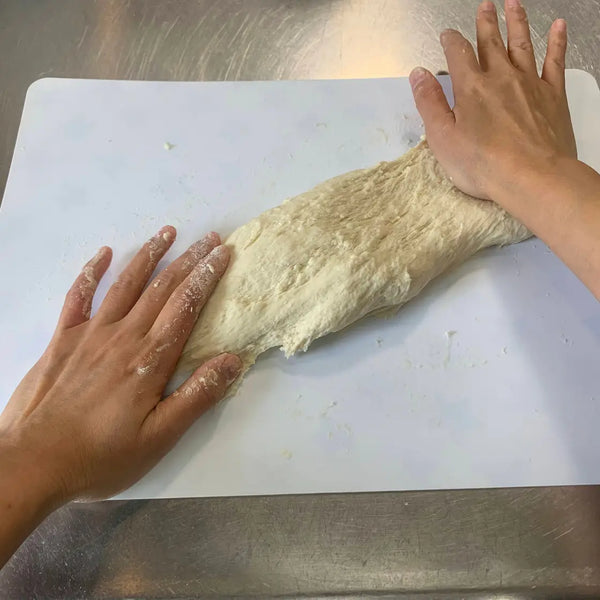
3) Kneading the Dough

Transfer the dough onto a cutting board or other clean, flat surface and continue to knead the dough. Knead for 5-10 minutes until the dough is completely smooth.

Once the dough is completely smooth, spread the softened butter evenly over its surface. Fold the dough in half, wrap it in the butter, and rub the butter into the dough.

When the butter has been completely incorporated and the dough is no longer sticky, continue to knead again for about 10 minutes. Alternatively, you can knead the dough with a stand mixer. Press and roll the dough with both hands on the board, turn it 90 degrees, and repeat the process until the surface of the dough is smooth.

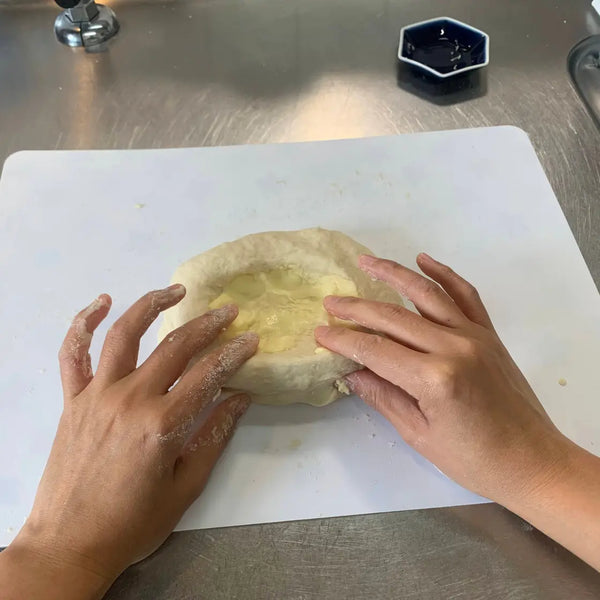
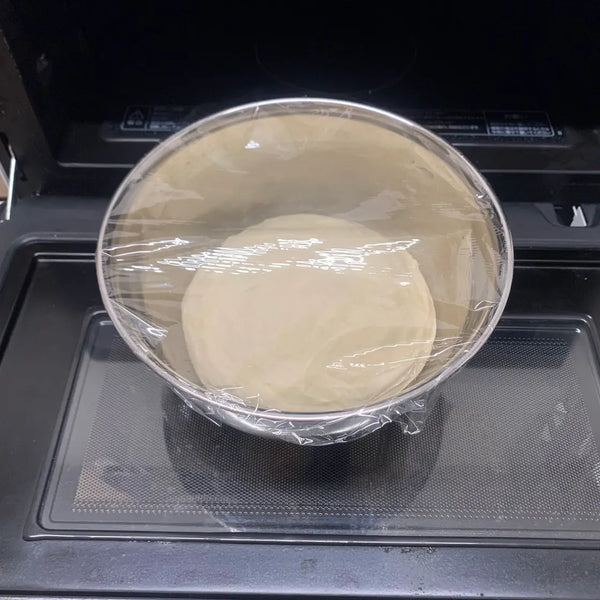
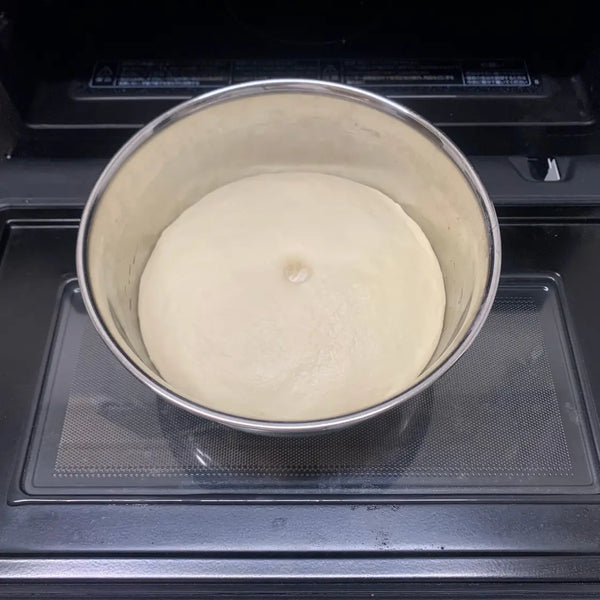
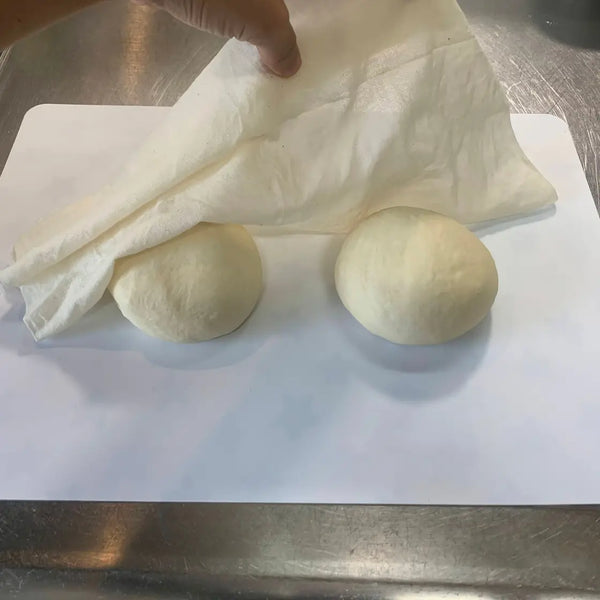
4) Resting the Dough (the first proof)

Form the edges of the dough towards the bottom to make a ball shape. Rotate it 90 degrees and repeat this process until the surface is completely smooth.

Place the dough in an oiled bowl, cover with plastic wrap, and let it rest in a warm place at 30°C (86°F) for 1 hour. (You can use your oven's fermentation function, for example.) The first fermentation is over when the dough has doubled in size.

To check if the dough has rested long enough, poke a hole in the center. If it doesn’t spring back, then the dough is ready for the next step.

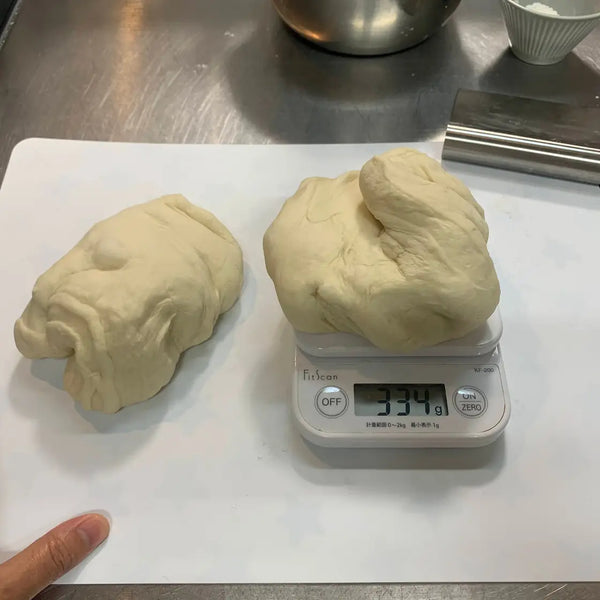
5) Splitting the Dough In Half

Sprinkle a table with flour (not included in the recipe). Then, remove the dough from the bowl and divide it into 2 equal portions. Use a scale to divide the portions evenly; a 1-2 g error is fine.

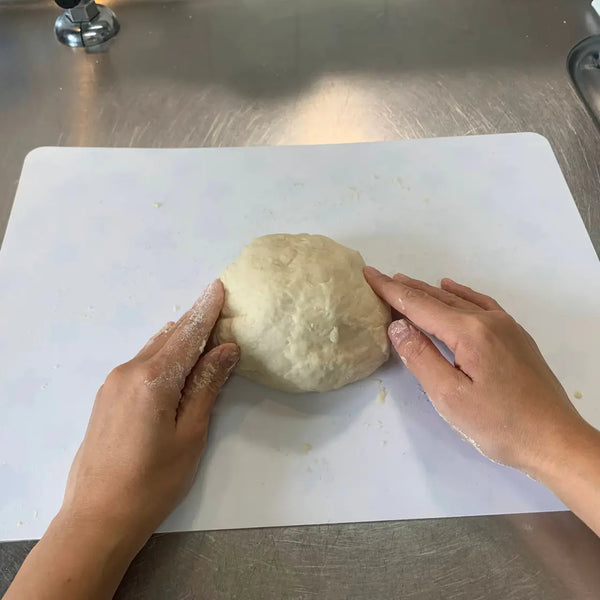
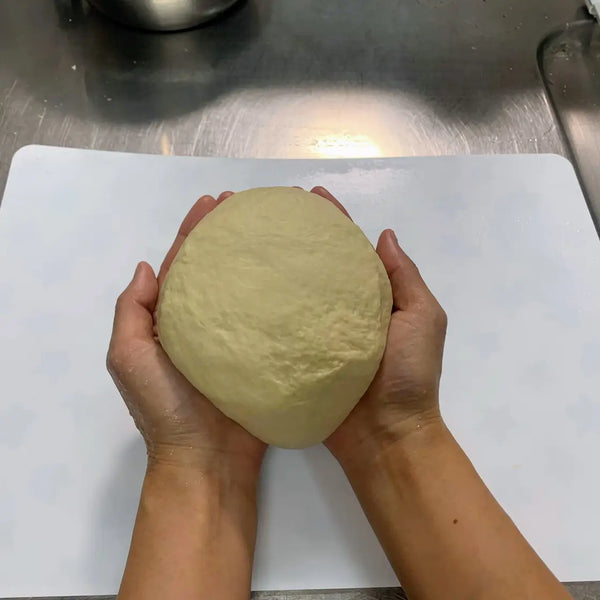
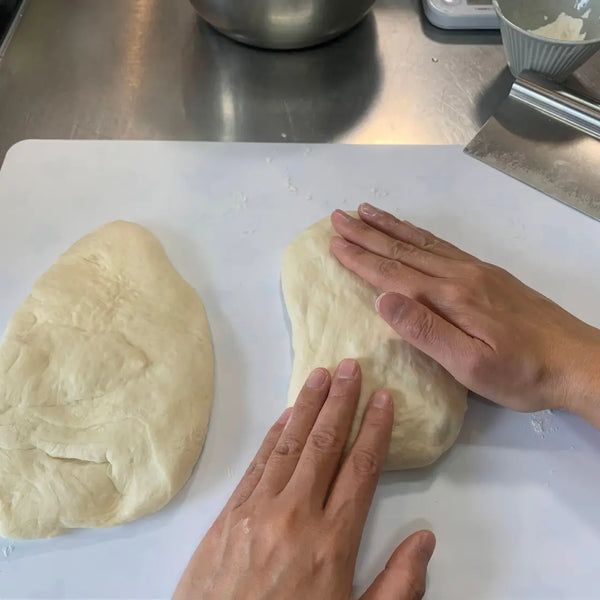
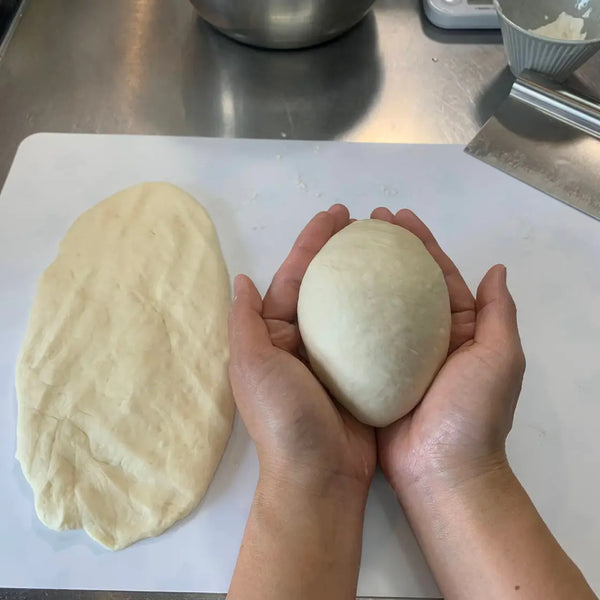
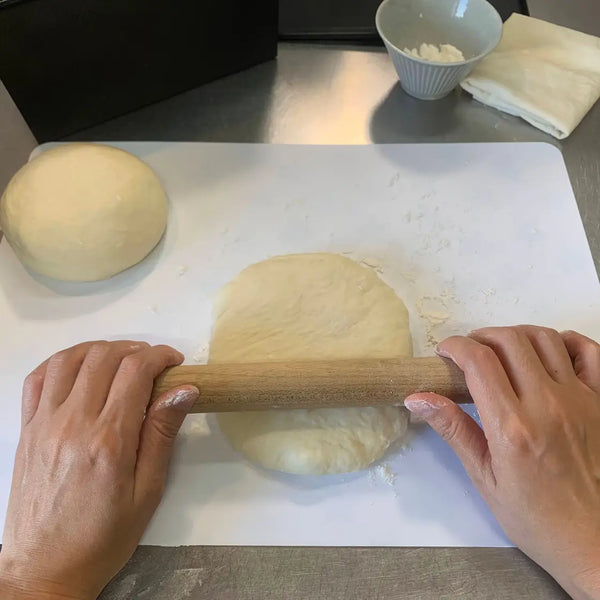
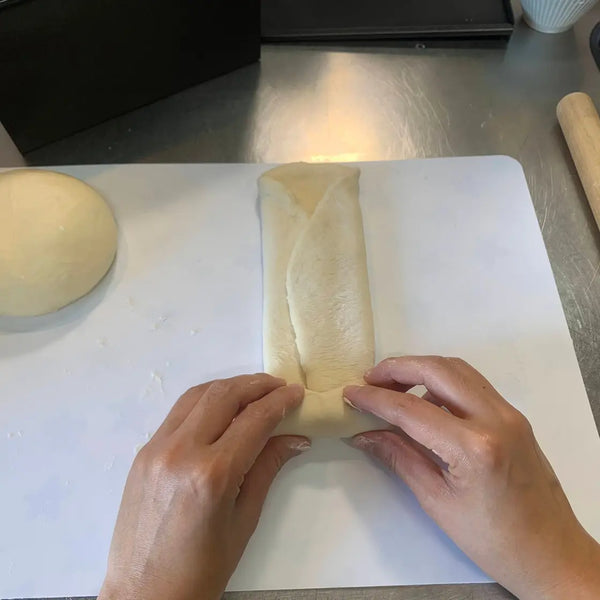
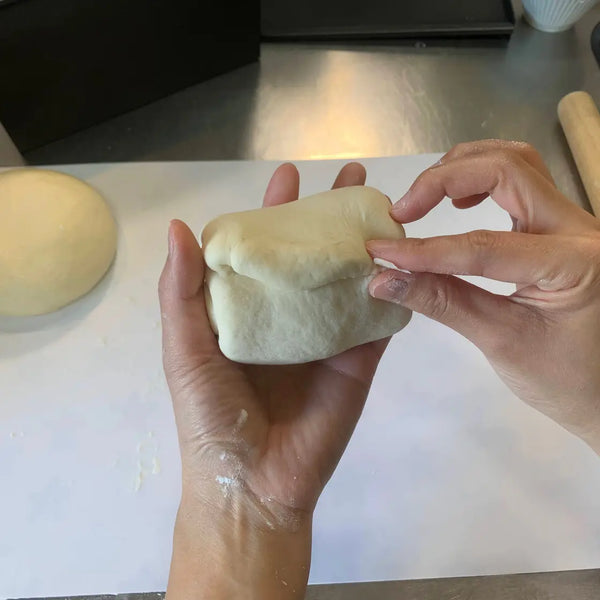
6) Shaping the Dough Balls

Knead each piece of the dough with the palm of your hand. This will release the gas that formed in the dough while it was resting.

Roll the dough along its long side, then turn it 90 degrees and roll it downward to form a round shape.

Place the two pieces of dough on a clean flat surface and leave some space in between them. Cover both with a tightly wrung wet cloth to prevent them from drying out and let them rest at room temperature for 15-20 minutes.

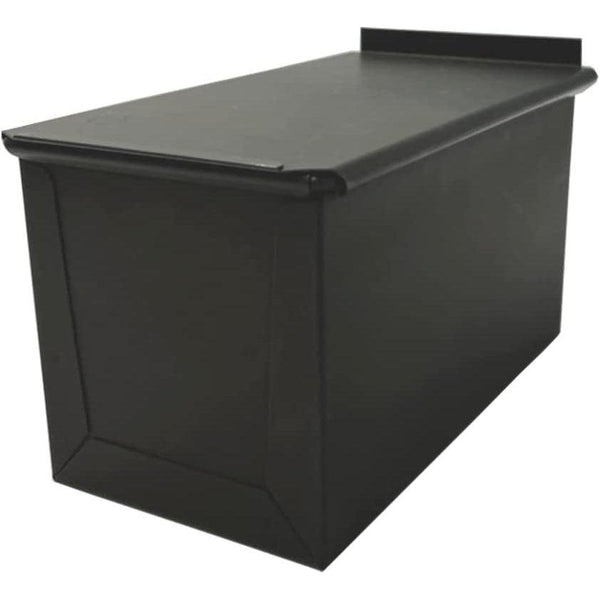
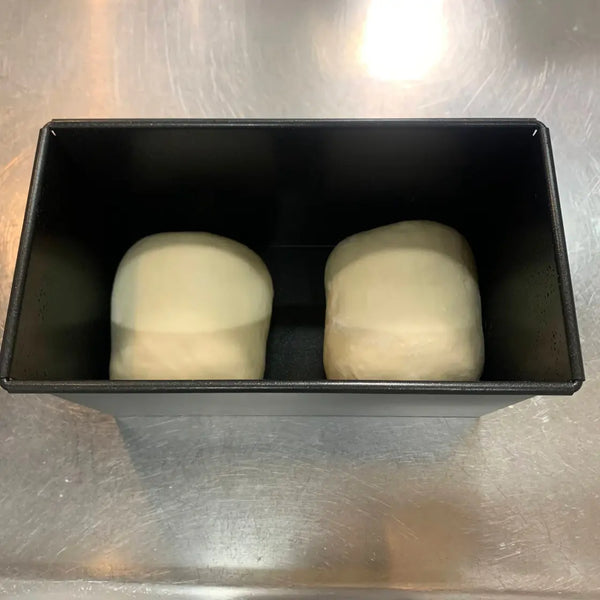
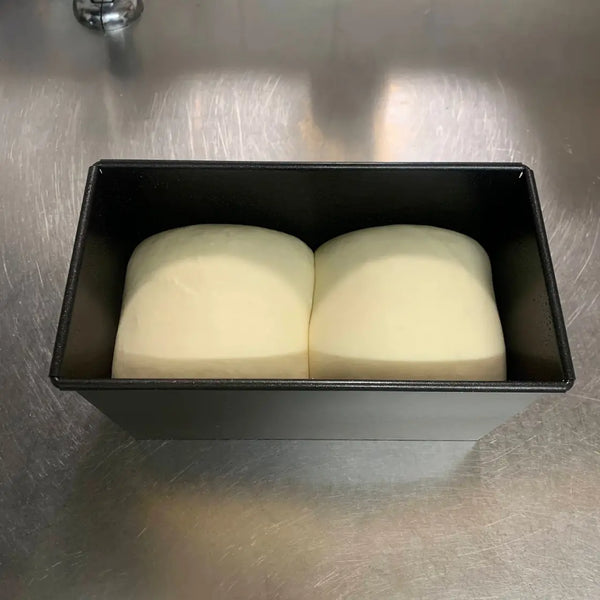
7) Shaping the Dough into the Bread Mold And Proofing (second proof)

Place the dough on a floured board with the seam facing up and roll it out with a rolling pin to about 15 cm in length and 25 cm in width. Then, turn the dough 90 degrees to make it about 25 cm long. Shape the dough into an oval measuring 25 cm in length and 15 cm in width.

Fold each piece of dough into thirds so that the layers overlap slightly. Continue rolling the dough, starting from the front and ending by pinching it shut with your fingers.

Do the same with the other piece of dough and place both pieces into the bread mold, seam side down. Rest the dough one more time in a warm place at 35°C for 50 minutes. Close the mold with the cover when the dough has puffed up to about the seventh or eighth part of the mold. Let it ferment for another 10 minutes.

8) Baking the Shokupan

Preheat the oven to 200°C (400°F) and bake for 30 minutes. After baking, remove the shokupan from the mold by dropping the mold onto a table from a height of about 10 cm. Immediately transfer the shokupan to a cake cooler or similar surface to cool. You can cut into and enjoy the shokupan once it has completely cooled.

Recommended products for this recipe

0 comments


Leave a comment

Please note, comments must be approved before they are published