How to Make Oyakodon (Chicken and Egg Rice Bowl) at Home-Japanese Taste

How to Make Oyakodon (Chicken and Egg Rice Bowl) at Home

by Ayumi Matsuo

Main Chicken Rice Bowl Donburi Under 30 Minutes Weeknight Meal

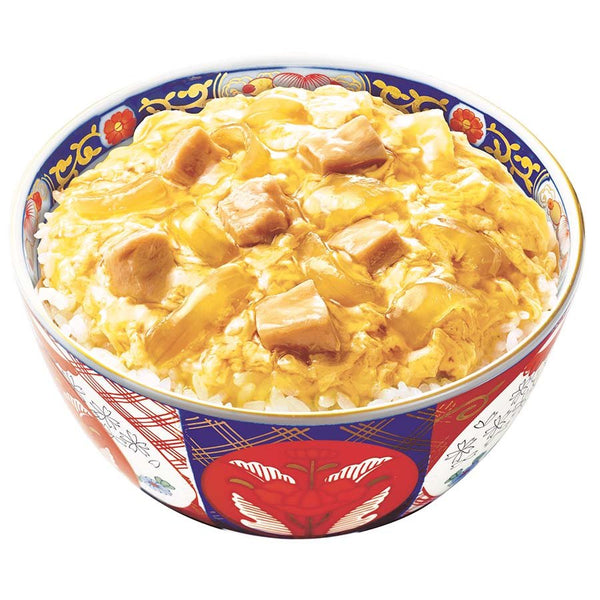
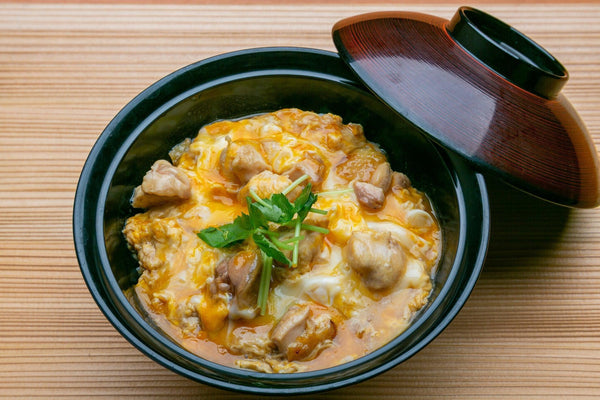
Oyakodon is a donburi or Japanese rice bowl dish consisting of chicken cooked in a soy sauce-based sauce with onions and eggs served over warm rice.

Since one bowl of oyakodon contains meat, vegetables, egg, and rice, it can be considered a full nutritious meal. It is also easy to prepare at home and can be made with a few simple ingredients. That’s why oyakodon is popular and frequently cooked in Japanese households.

Let’s learn about the origins of oyakodon’s name. In Japanese, “oyako” means “parent and child” because it is made of chicken = parent and egg = child. Also, “don" comes from the word "donburi," which is a large, deep bowl.

In Japan, there are many donburi dishes in which warm rice is placed at the bottom of the bowl, and various ingredients are added on top. These kinds of dishes are called donburi. In addition to oyakodon, there is also katsudon, with pork cutlet (tonkatsu), gyudon, with beef (gyu), and kaisendon, with kaisen (sashimi).

Oyakodon is said to have originated in a long-established chicken restaurant during the Meiji Era (1868-1912). The idea of oyakodon was inspired by a customer who ate their leftover chicken by flavoring it with soy sauce, adding eggs, and placing it over rice. The dish was so delicious that it spread nationwide and became a favorite for children and adults.

Today, outside of the home, oyakodon can be found at udon or soba noodle restaurants and in the bento corner of supermarkets and convenience stores. Since raw or soft-boiled eggs are preferred in Japan, a tender egg is key to a delicious oyakodon. The harmony of half-cooked egg, well-seasoned chicken, and white rice together is superb.

Let’s cook this simple and yummy dish together!
Overview

Prep time: 15 mins

Cook time: 15 mins

Total time: 30 mins

Total servings: 2

Difficulty: Easy

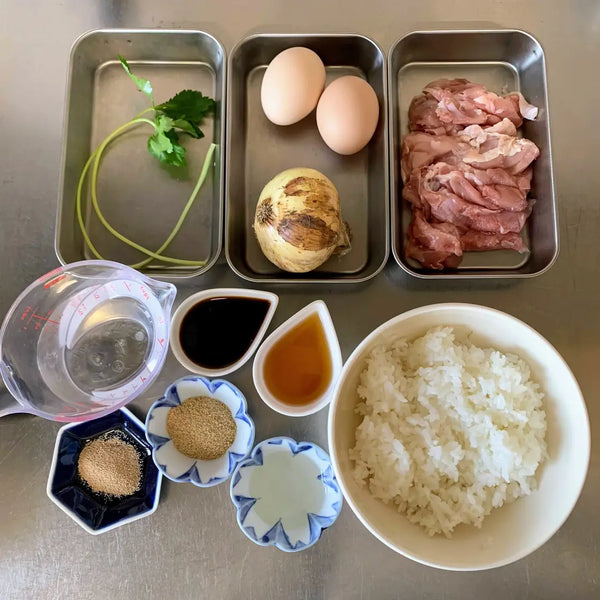
Ingredients
  • 200g Chicken Thigh
  • 2 Eggs
  • 1/2 Onion (medium-sized)
  • Mitsuba (Japanese Parsley) for garnish
  • 150ml Water
  • 2 Tbsp Soy Sauce
  • 2 Tbsp Mirin
  • 1 Tbsp Sake
  • 1 Tbsp Sugar
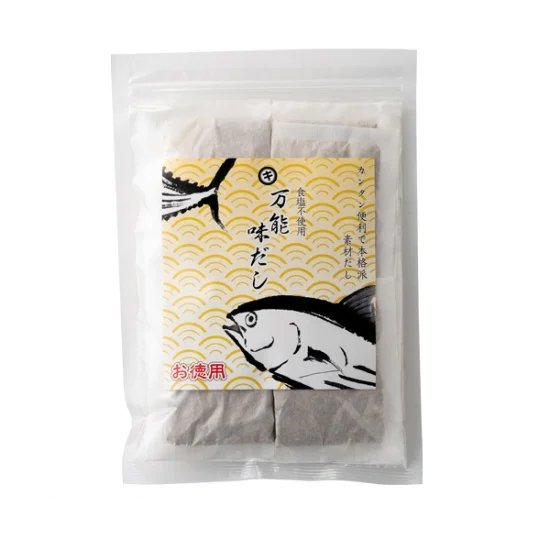
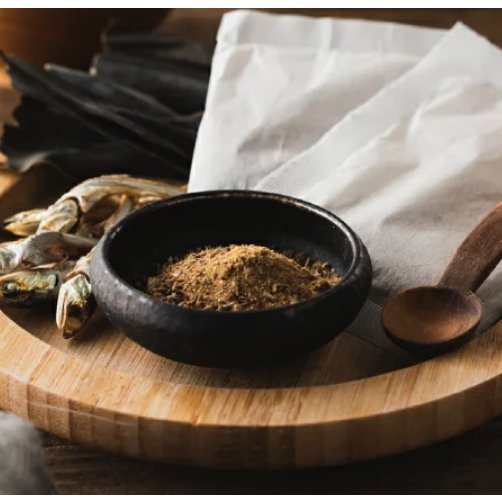
  • 1 tsp Dashi Powder
  • 250g Cooked Rice

Expert's Tip

How to Make Oyakodon (Chicken and Egg Rice Bowl) at Home

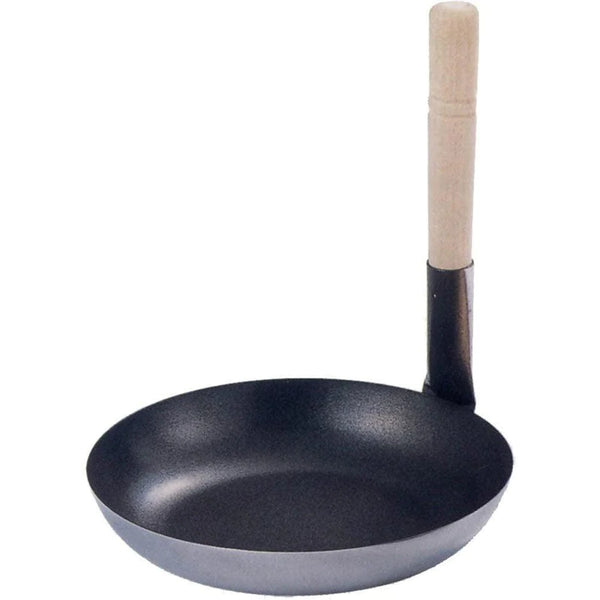
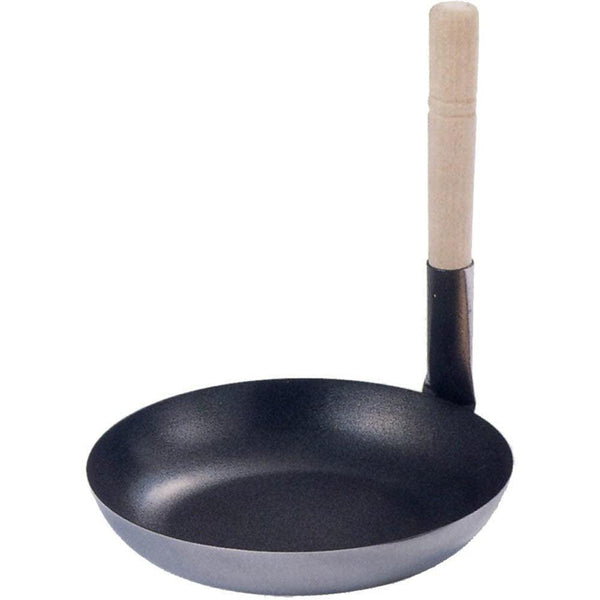
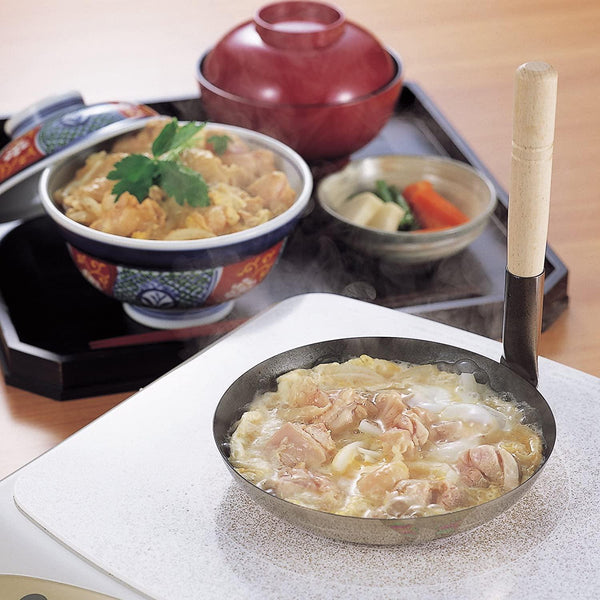
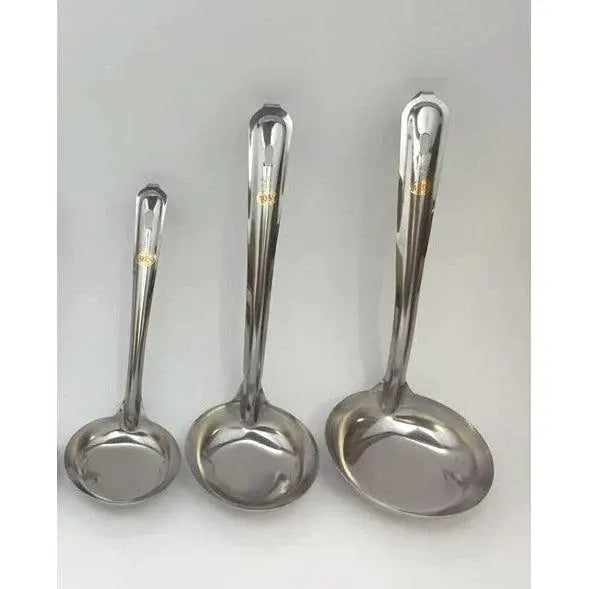
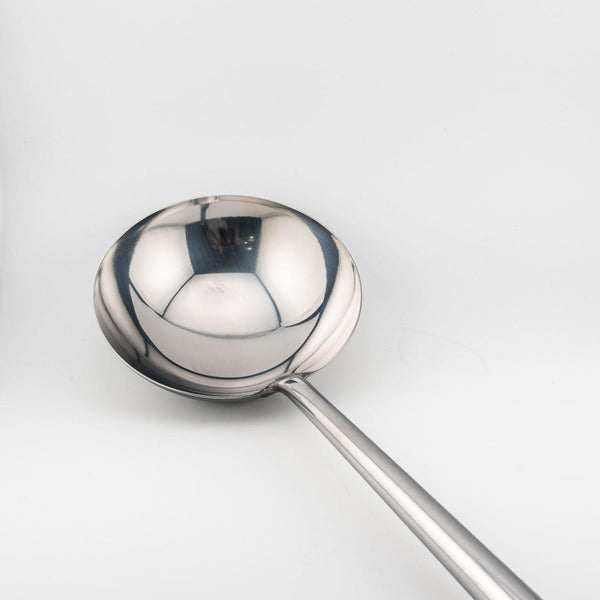
To make a good-looking oyakodon, the finished ingredients must be placed onto the rice without making a mess. If you scoop the ingredients out of the pan with a ladle, they will lose their shape. This special oyakodon pan has a handle pointing upward and a shallow bottom, so you can shake and slide the ingredients to the side and place them onto the rice without them collapsing.

Instructions

1) Gathering the Ingredients

Gather all of the ingredients together. 

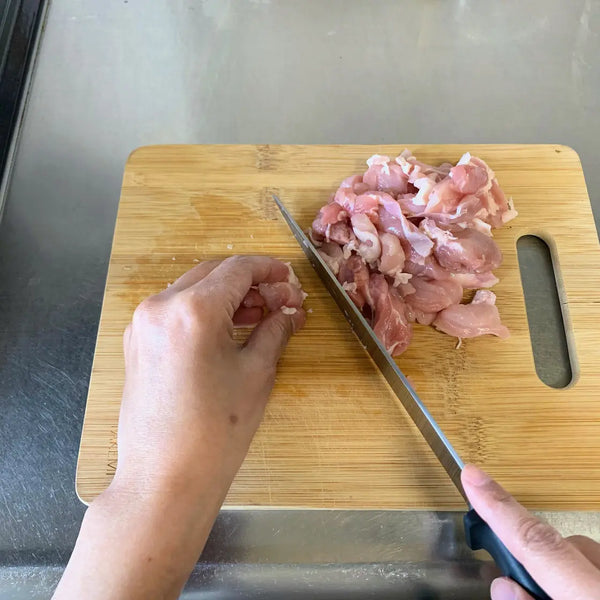
2) Cutting the Chicken

Cut the chicken thigh into bite-sized pieces. Remove excess fat and skin if desired.

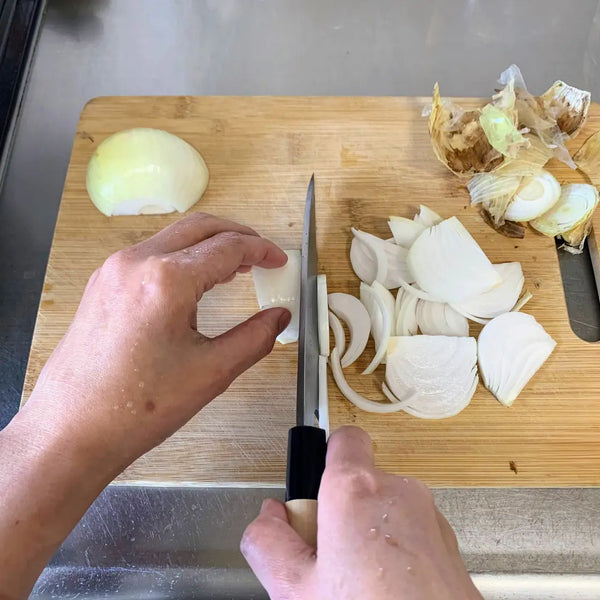
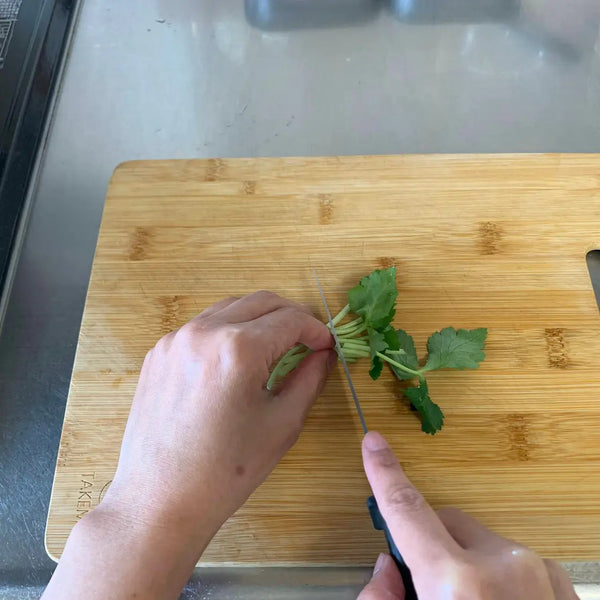
3) Slicing the Vegetables

Peel and slice the onion. Cut the mitsuba into 3cm lengths.

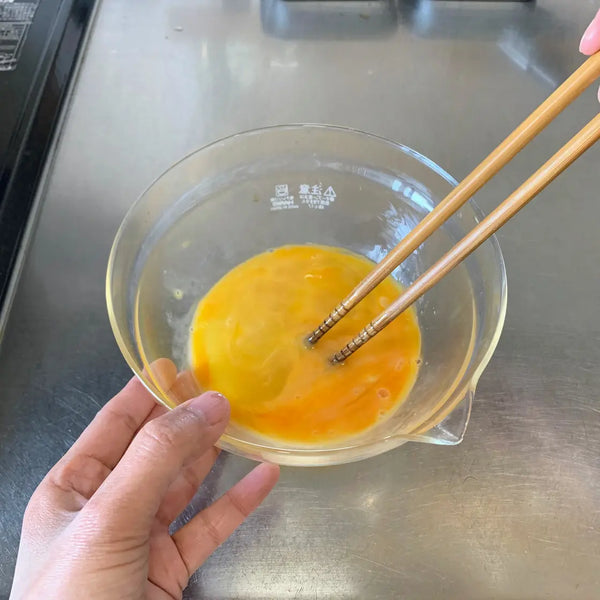
4) Beating the Eggs

Beat the eggs gently, ensuring not to overmix. You want a marbling effect between the egg white and yolk. This marbling effect enhances the visual appeal of the dish and adds dynamic flavor as the white and yolk become more pronounced when cooked.

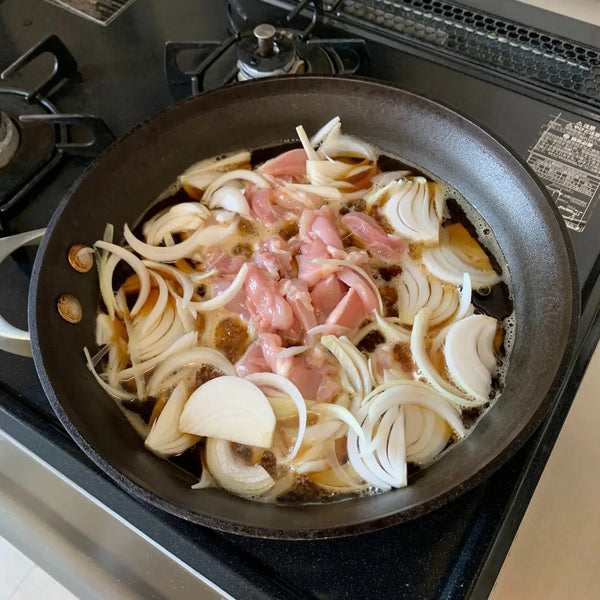
5) Cooking the Chicken and Onions

Combine all the seasonings and water in a pan, then heat it over medium heat. Once it reaches a boil, add the chicken and onion, cooking them until they are tender.

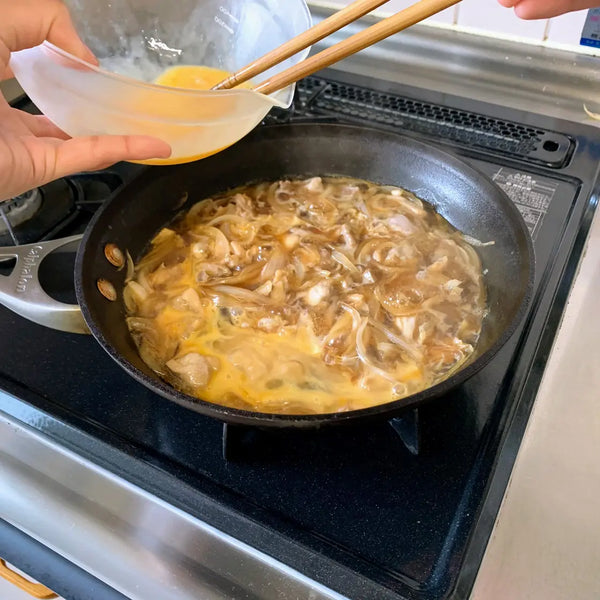
6) Pouring the Eggs into the Pan

Once the chicken and onion are cooked, add the beaten egg to the pan.

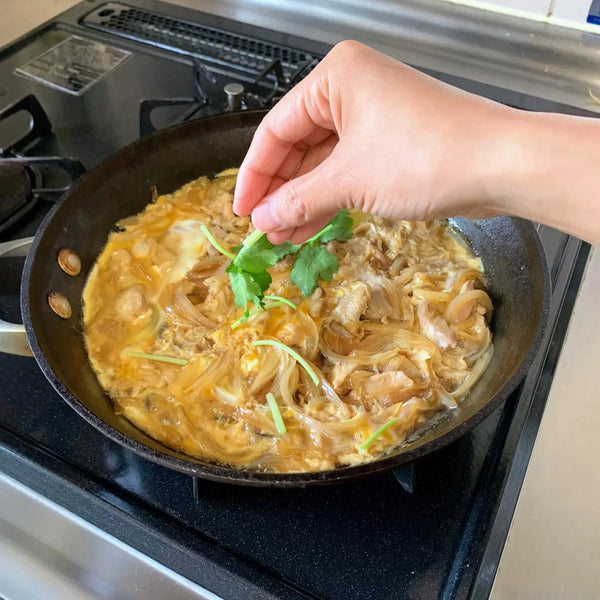
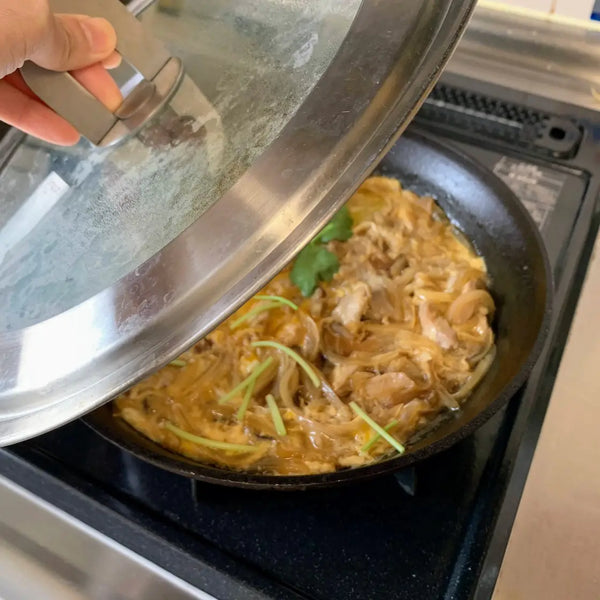
After 1 minute, spread the cut mitsuba over the oyakodon and turn off the heat. Cover the oyakodon mixture for another minute to allow the flavors to meld together.

Note: Do not lower the heat when adding the egg. If the heat is too weak, the beaten egg and the seasonings will combine as a liquid, and the egg won’t shape well.

7) Serving the Oyakodon

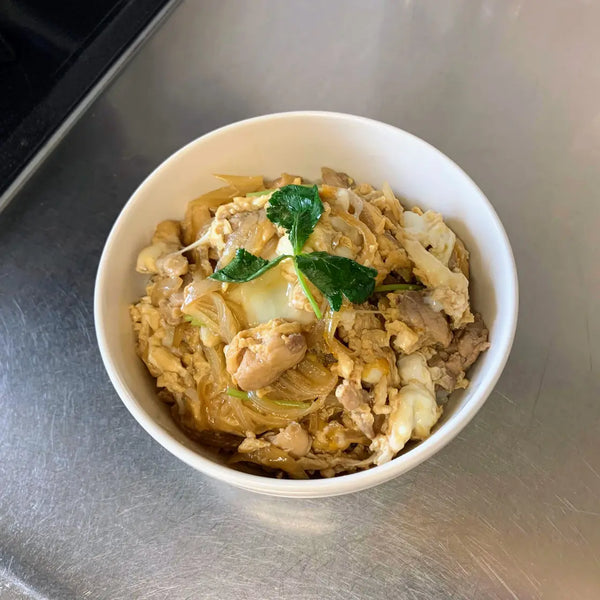
Transfer the chicken and egg mixture over a bowl of warm cooked rice, and it’s done!

If you spread the ingredients so that you can't see the rice, it will look more delicious.

Recommended products for this recipe

0 comments


Leave a comment

Please note, comments must be approved before they are published